
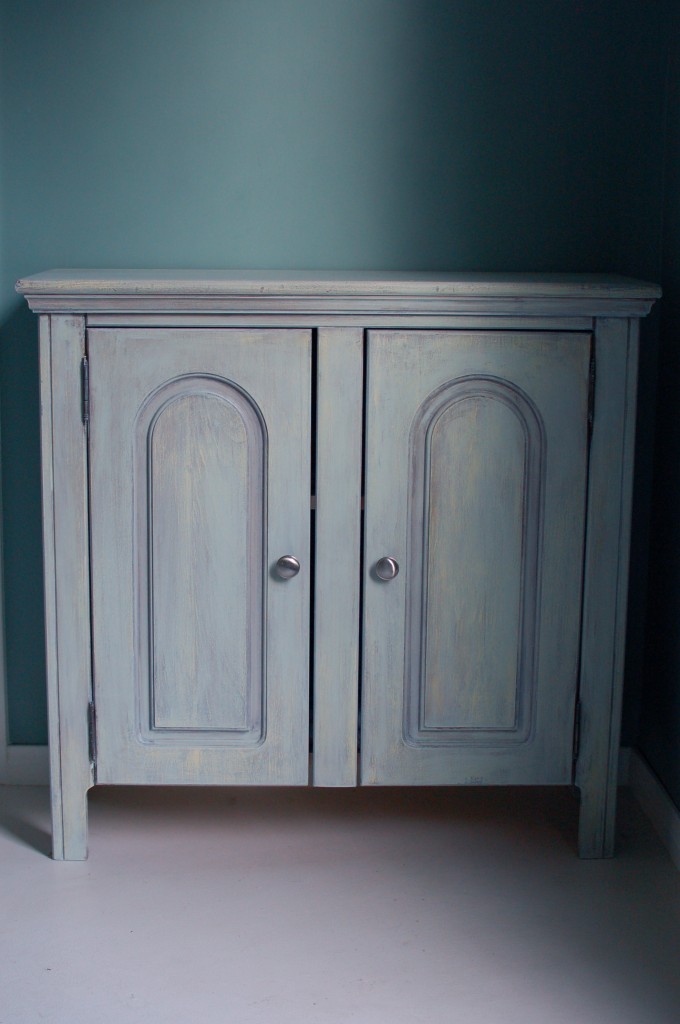
I inherited a small cabinet from a roommate in Indiana, and it has fearlessly traveled the country with me for the last four years. Though thinly coated in flat white paint, it faithfully held a TV in South Bend and a lamp in Atlanta before becoming the perfect entryway piece here in LA.
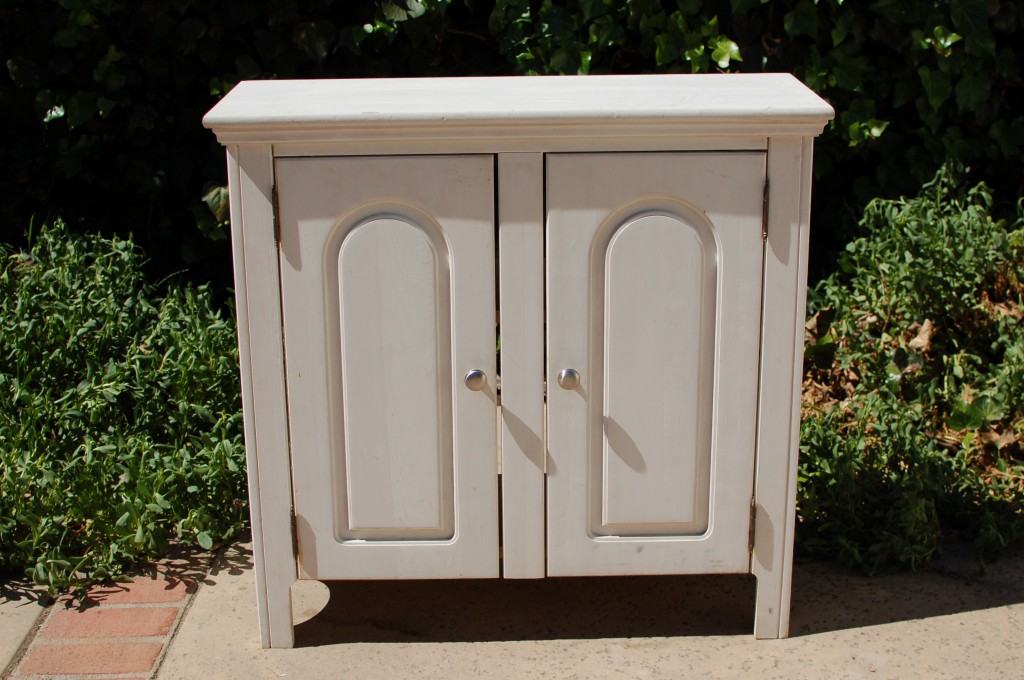
The many scuff marks finally caught up with the poor flat paint, and it was time to give our cabinet the makeover it deserved. Though I do love a crisp white against a colored wall, we were inspired by the weathered display pieces in stores like anthropologie and decided to use this cabinet to test our furniture-distressing skills. Previously un-tested skills, I might add.

This project took a fair amount of work and time. The sun was going to weather the cabinet for us, if it spent much more time in the driveway! There’s a lot of trial and error in distressing furniture (at least when you’re as inexperienced as we are), and it involves rounds of layering paint on and sanding it back off. We wanted the cabinet to be distressed enough so that the wear didn’t seem too contrived, but not so distressed as to look haunted house-ish. Fortunately, as perfect and polished isn’t the goal, there’s plenty of room to make adjustments!
Here’s what Greg did:
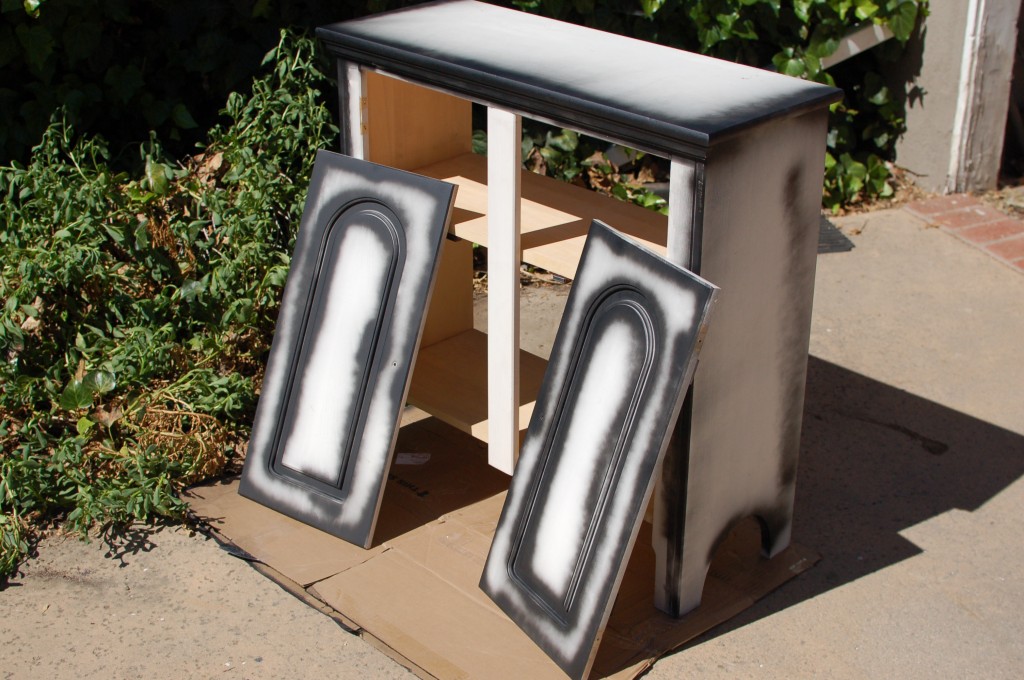
1. Spray-painted the cabinet edges black to serve as a base coat in the areas that would be most distressed.
2. Painted the whole piece yellow.
3. Painted the whole piece light blue. (Layering two compatible colors ensured that the piece would look nice when areas of the topcoat were removed by sanding.)
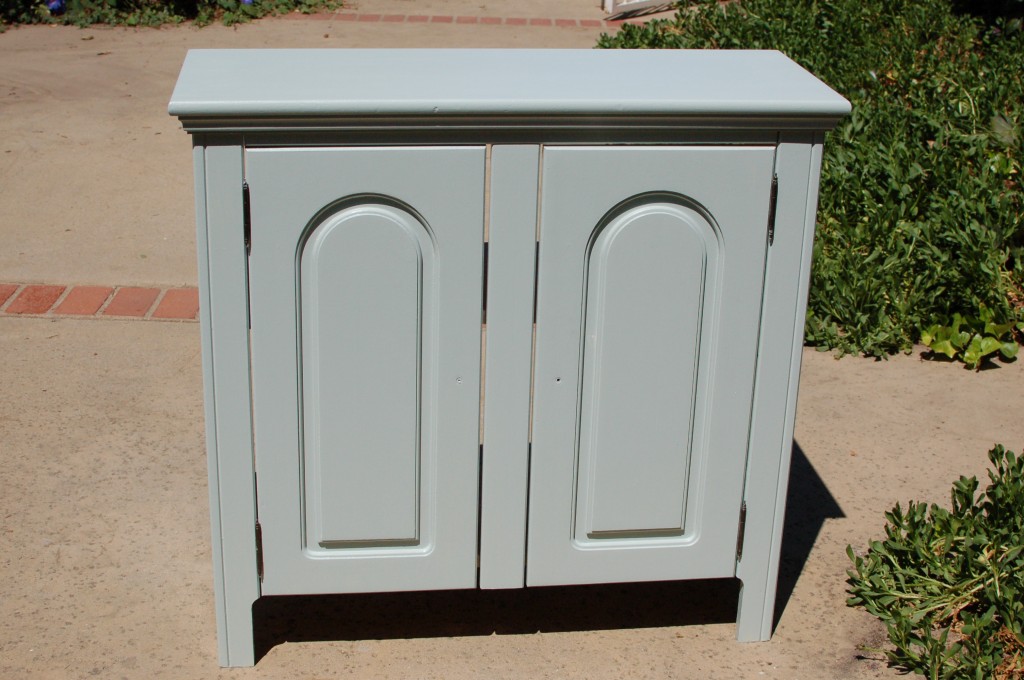
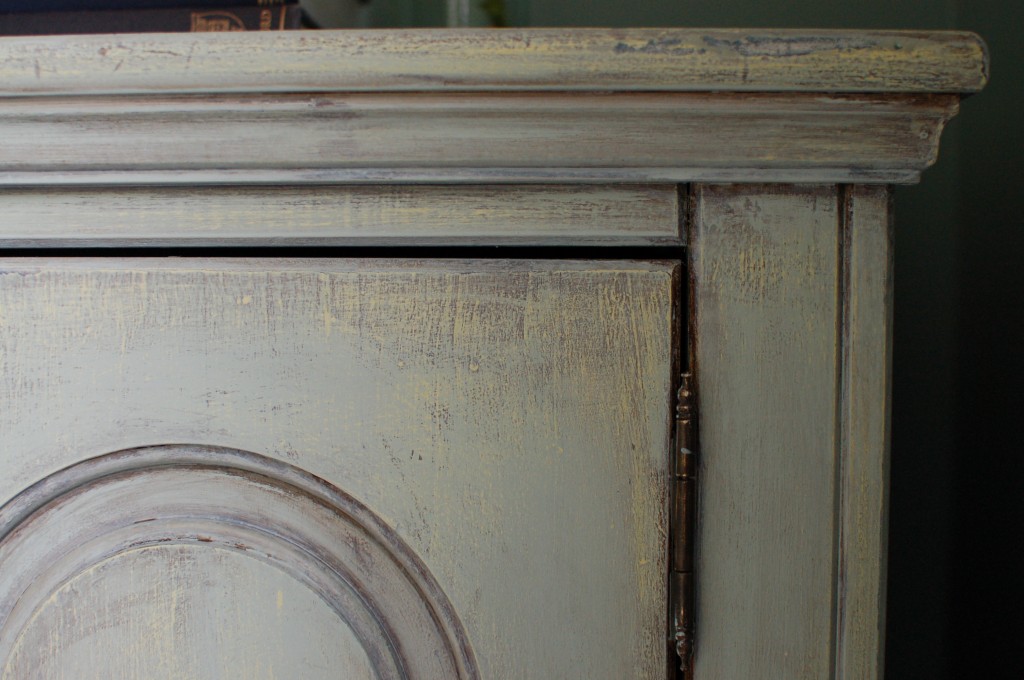
4. Applied stain (Minwax American Walnut) over paint. Immediately wiped most stain off. This left stain in the recesses of the piece, those areas that would naturally retain color or finish after it had faded or worn off the more exposed surfaces.
5. Sanded like crazy to simulate extended weathering, giving the cabinet a highly distressed look.
6. Applied a wash of light blue paint mixed with water to tone down the distress in some areas.

I’m still planning to update the knobs, and I’m not sure what accessories will end up on top, but here’s what it looks like today!