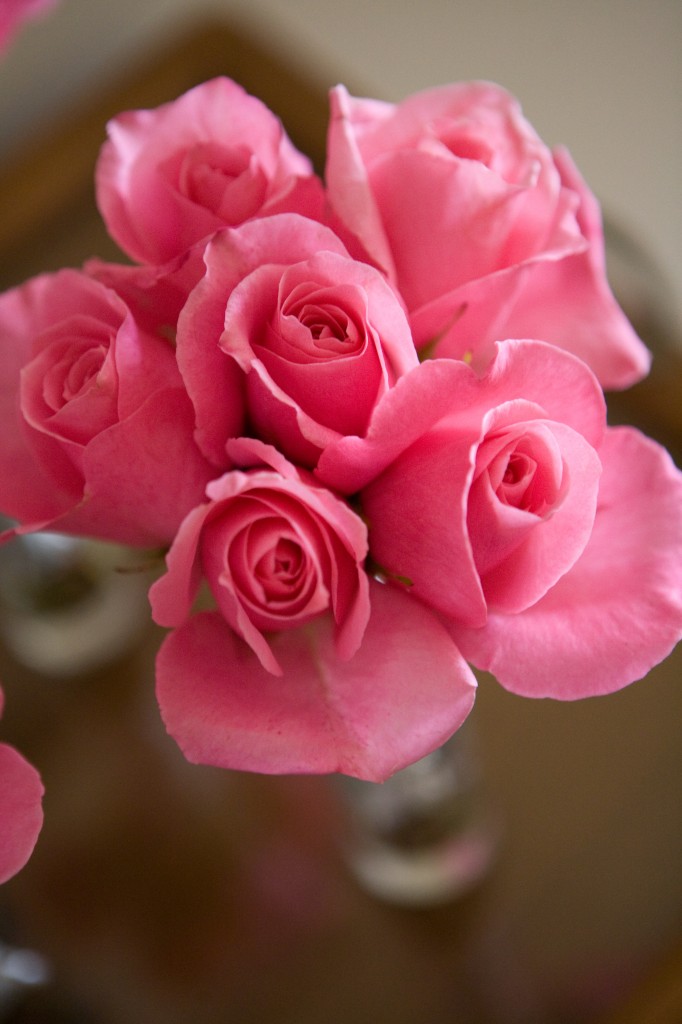
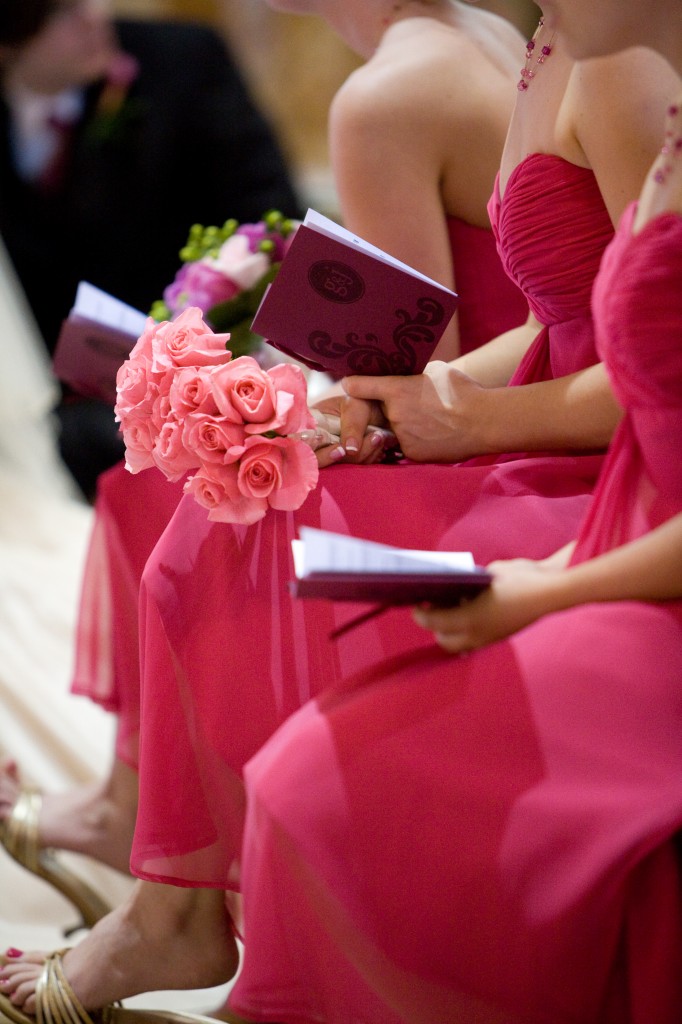
The inspiration for my bridesmaids’ bouquets was the one I carried in my best friend’s wedding. I was more than inspired, actually; I completely copied it. I loved her sleek and gorgeous coral bouquets and so, when it was my turn to get married, I looked up her florist.
This particular florist prides itself on low prices. By offering a limited selection of flowers and styles, they can sell huge bridal rose bouquets for $100. A lot of money for two dozen roses, but apparently quite a steal as bridal bouquets go. The bridesmaids bouquets, comprised of just six roses, sell for $50.
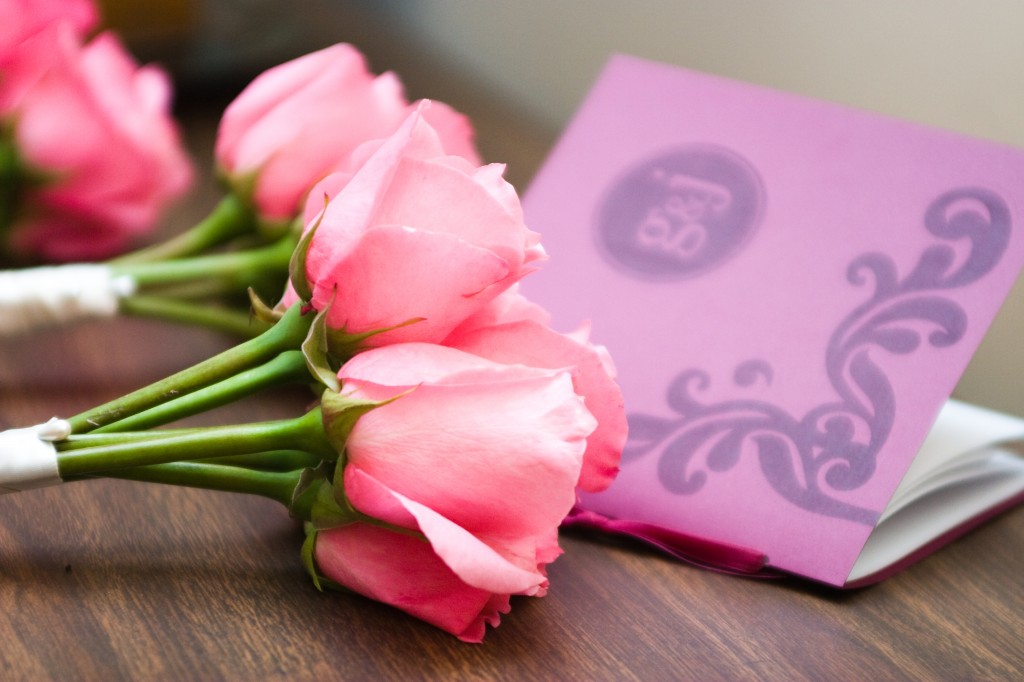
I have to admit, I balked at the price. That’s more than $8 per rose, plus a little bit of satin ribbon. The arrangements seemed so simple! And then, of course, it hit me. I didn’t need a florist to make these bouquets. (Note: I was never under the delusion that I could actually arrange flowers on the morning of my wedding. My wonder-mom made the bouquets.)
For three bouquets, our total cost came to about $35. That’s a savings of 75 percent! The cost included 24 long-stem roses (a few extras so the best, straightest blooms end up in the bouquet), floral tape, satin ribbon and pins. Also, I didn’t throw a bouquet, but this project would be perfect for a toss bouquet.
For demonstration purposes, I’ve used peach roses from the garden. (We didn’t snap any wedding-day process shots, if you can image that!) Store-bought varieties will generally have tighter, more perfect form and have thicker stems than these.
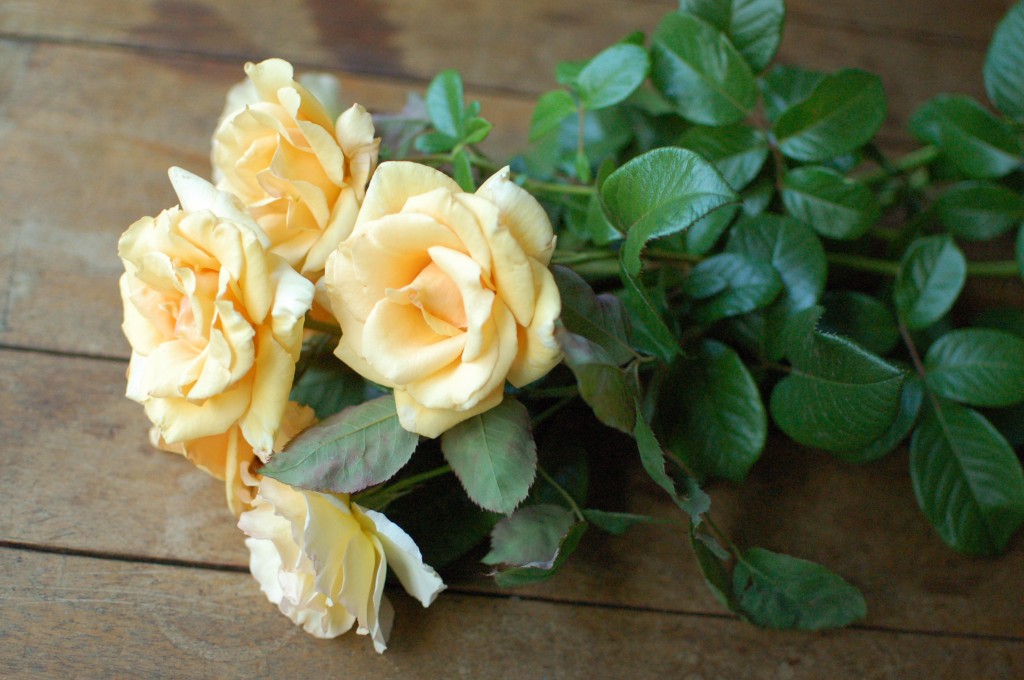
Supplies for one bouquet:
6-7 Long-stem roses, plus extras as backup
30″ Ribbon, at least 1/2″ wide and in the color of your choice
4-6 Decorative straight pins
Floral tape
Pruning shears
Stem stripper (optional, but fun)
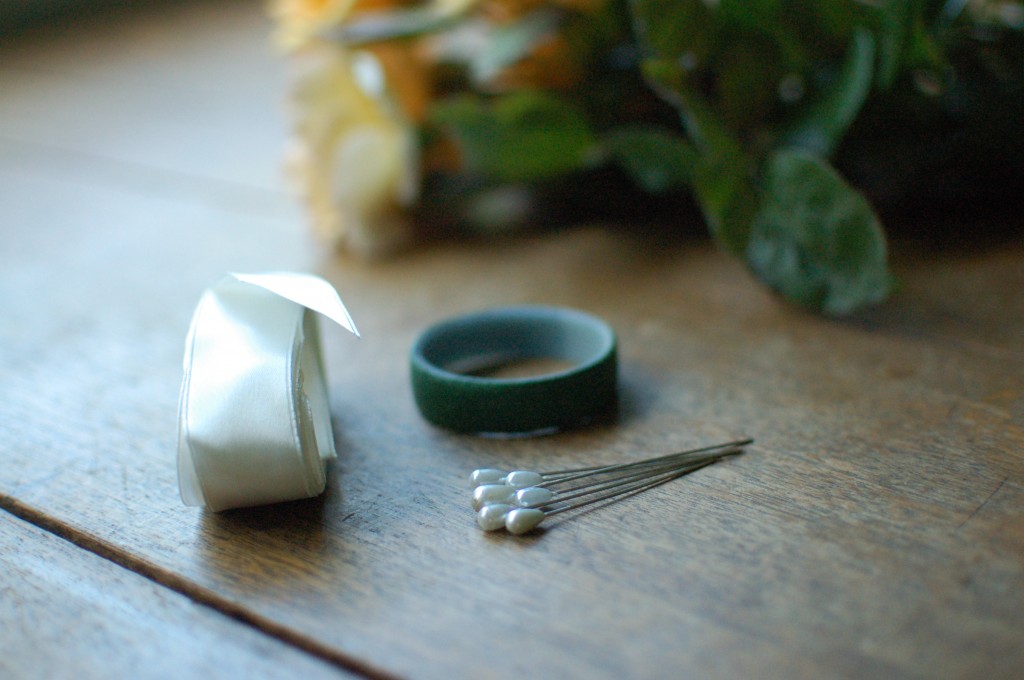
1. Pick the best six roses. Strip or trim all leaves and thorns.
2. Start with a full, straight-stemmed flower as your center. Arrange the other five roses in a circle around the center, making sure that none of the surrounding roses are taller than the center. If needed, add a seventh rose to fill gaps.
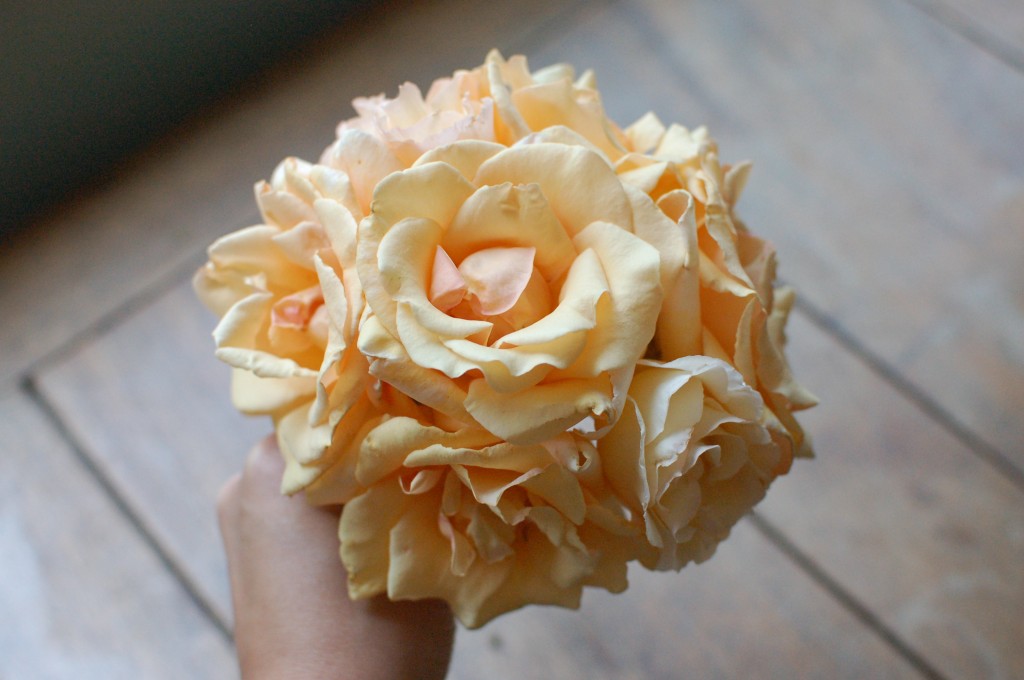
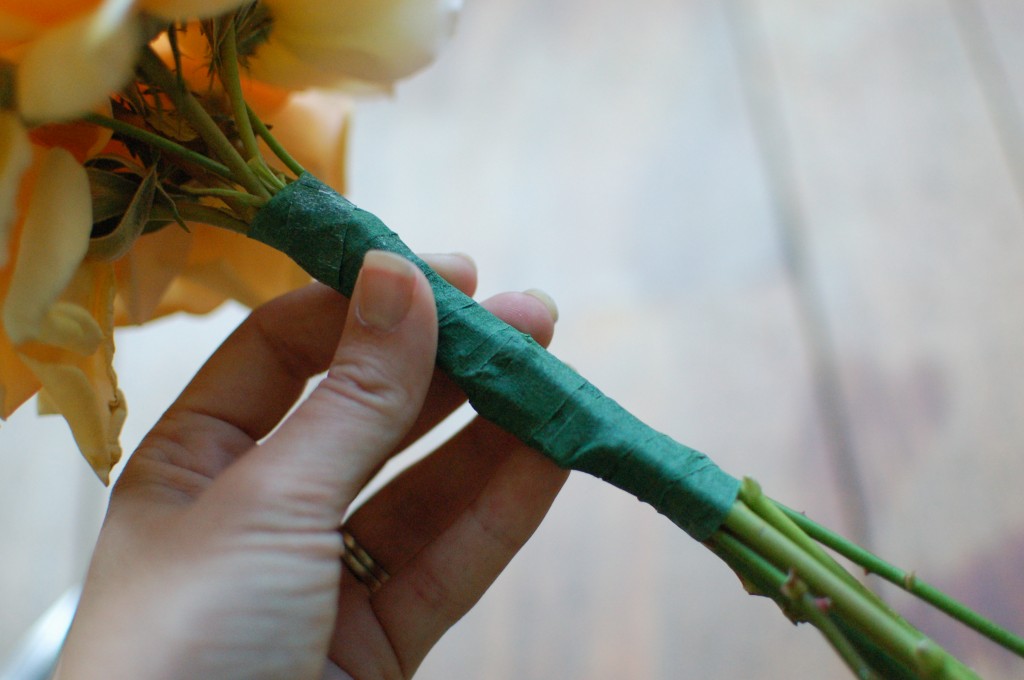
3. When satisfied with the arrangement, wrap floral tape around the stems. Hold the stems just under the blooms and start taping 1.5″ below them. Wrap away from the flowers in a spiral pattern, until the tape covers 4″ of the stems.
4. Over the floral tape, wrap ribbon (starting at the end nearest the flowers) in a spiral pattern. When you reach the bottom, wrap it back up toward the flowers. Tuck the end under itself.
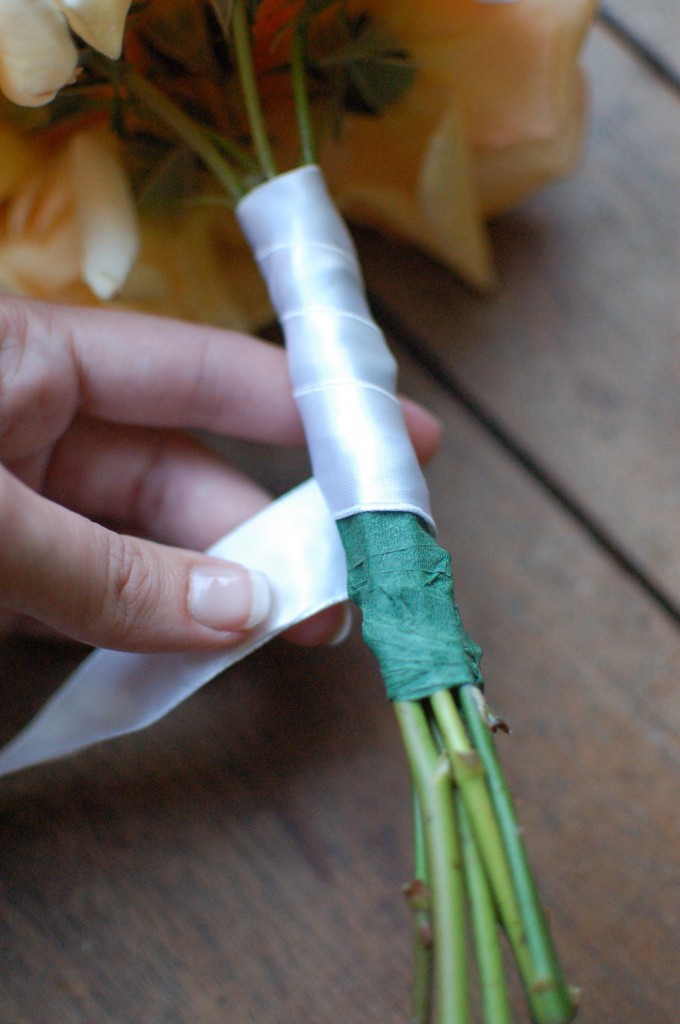
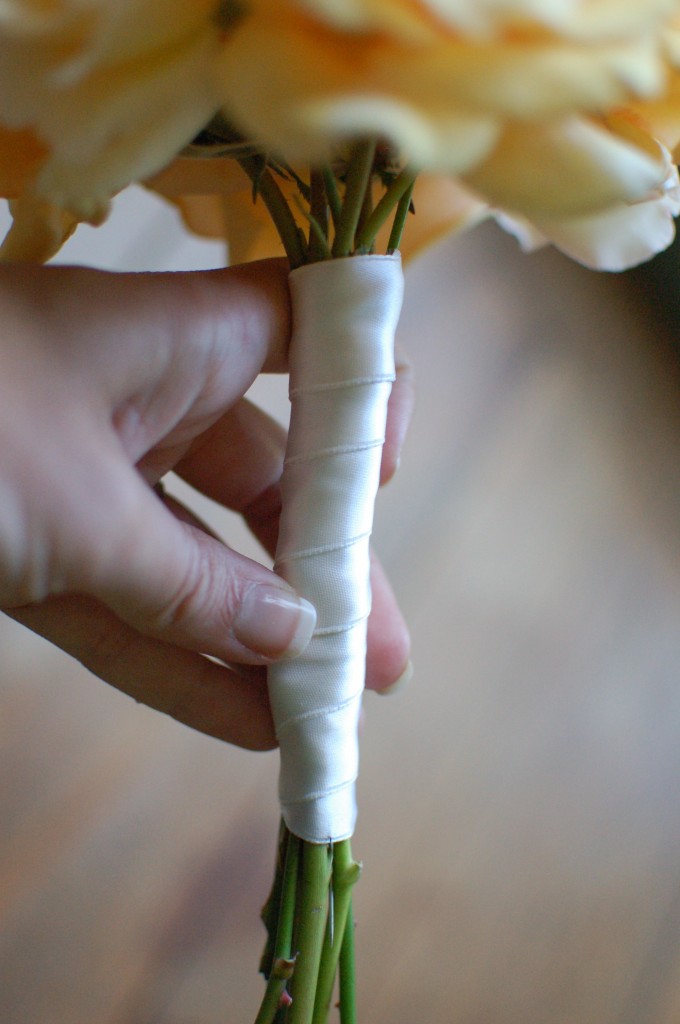
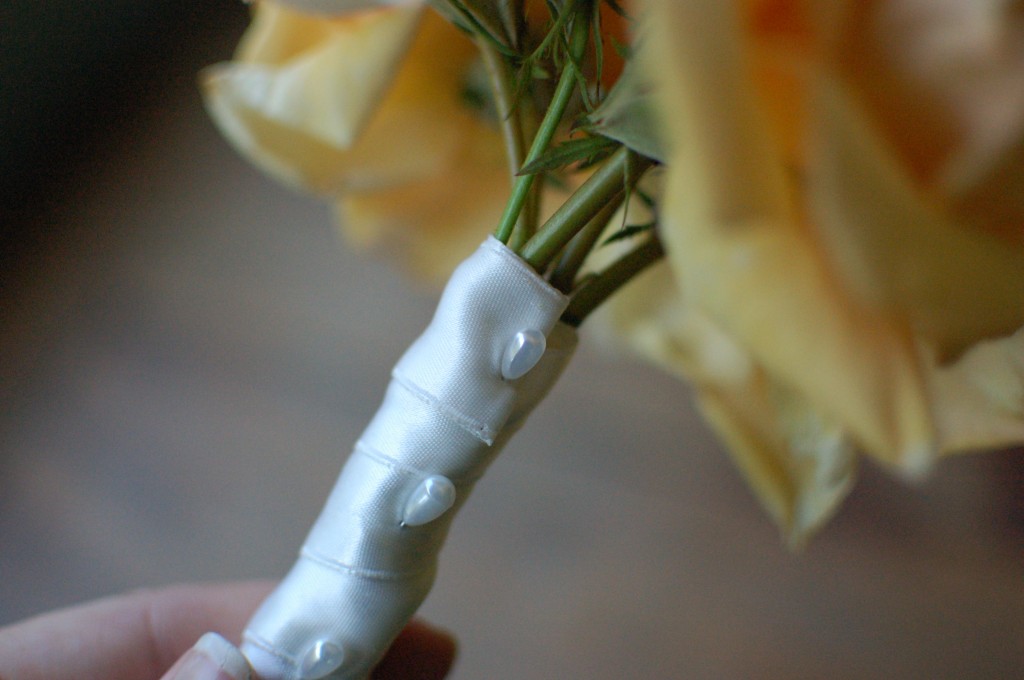
5. Secure the ribbon with pins (approximately every inch), starting where the end is tucked and continuing down in a straight line. The pins should point down, away from the flowers, except for one that secures the very bottom coil of ribbon. This one should point up (this way there’s no chance of pricked fingers — the pins are all underneath the layer of floral tape and ribbon).
6. Trim stems straight across, 2″ below the ribbon-wrapped section.
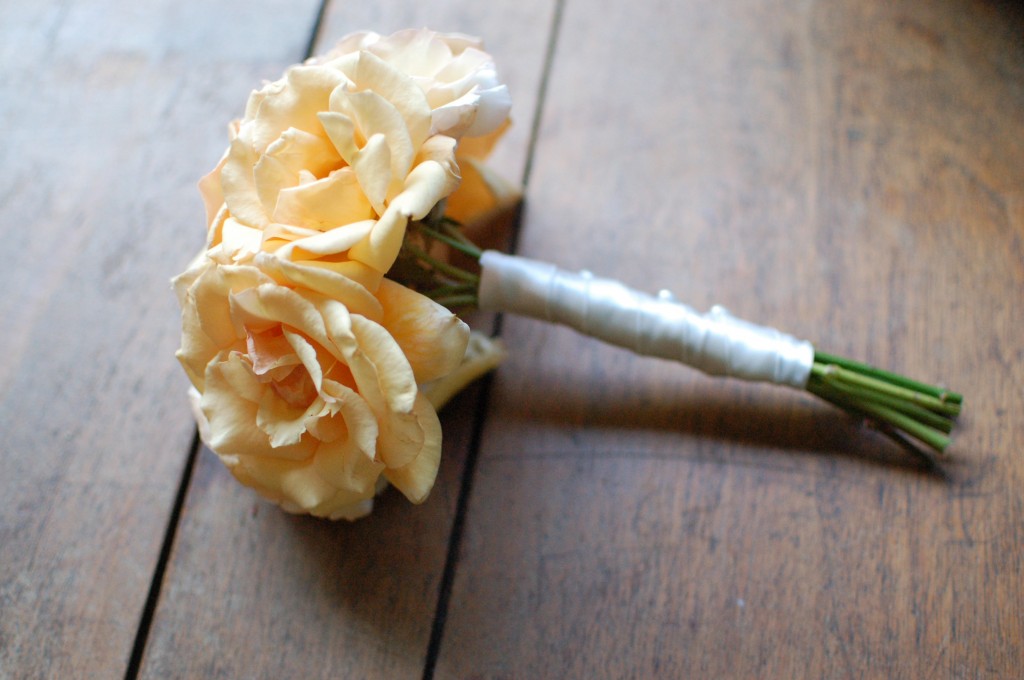
7. Store bouquet in a narrow vase with an inch of water, refrigerated, until it’s go time!
A quick note on bloom time: you can encourage or discourage further blooming. If, at the last minute, your flowers aren’t open enough, put them in warm water and carefully use a hair-dryer to coax them. If your flowers are opening too quickly, keep them in the fridge as long as possible.
Wedding photos by John Fedele
WOW just what I was searching for. Came here by searching for website