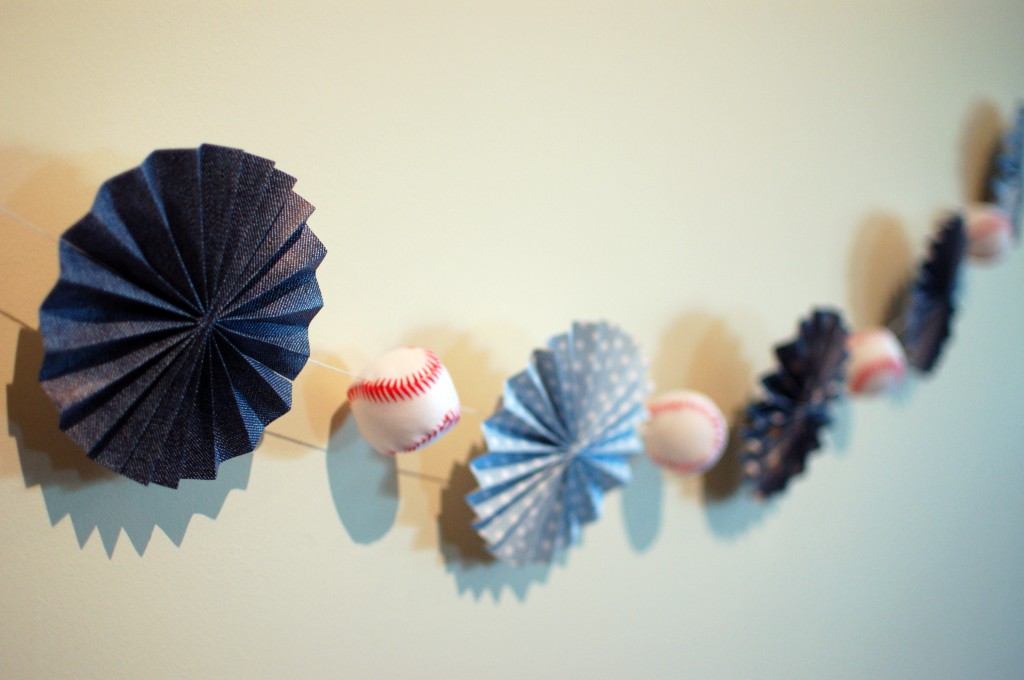
Paper rosettes are popping up in parties everywhere, but I was finally convinced to make my own after swooning over a wedding dessert table! I didn’t want to do quite such an installation at my Baseball Baby Shower, however, because I wanted to send my friend home with something she could hang in her nursery! And so the rosette-and-baseball banner was born.
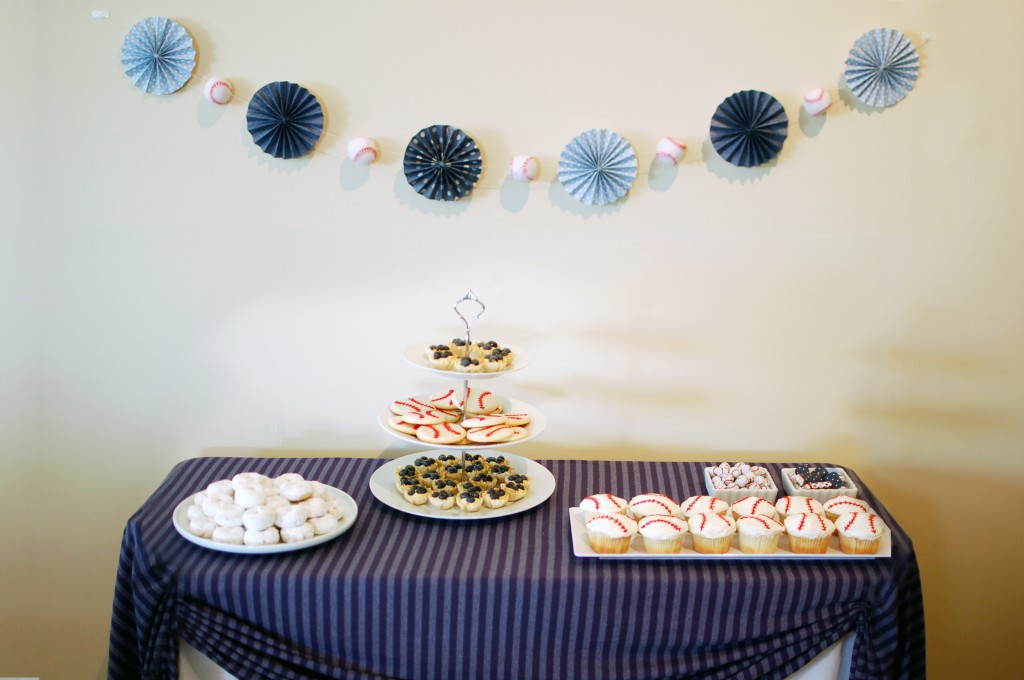
Just as I was surprised how easy it was to make tissue paper poms, I was surprised at the many complicated methods for making rosettes. We’ve all made paper fans out of scrap paper since we were kids, so I figured it was as easy as that. Fold, fan and go. In reality, directions for rosettes often include many sheets of paper, precise measurements, bone folders and so on. Since time and quality scrapbook paper aren’t cheap, I’ve detailed the simplest version of small (5″) and large rosettes (10″) that I could come up with. You can make 2 small rosettes per sheet of 12″x12″ scrapbook paper, and the large rosettes each require 3 sheets of 8″x10″ paper.
At the end I’ve included one more method — it’s the easiest way to make rosettes larger than standard paper, and it uses the least amount of paper, but it leaves you with a hole in the middle. This method is best if you’re planning to spell a word on the rosettes (you can put a circle with a letter over each hole), or stacking doilies or smaller rosettes on top of larger ones.
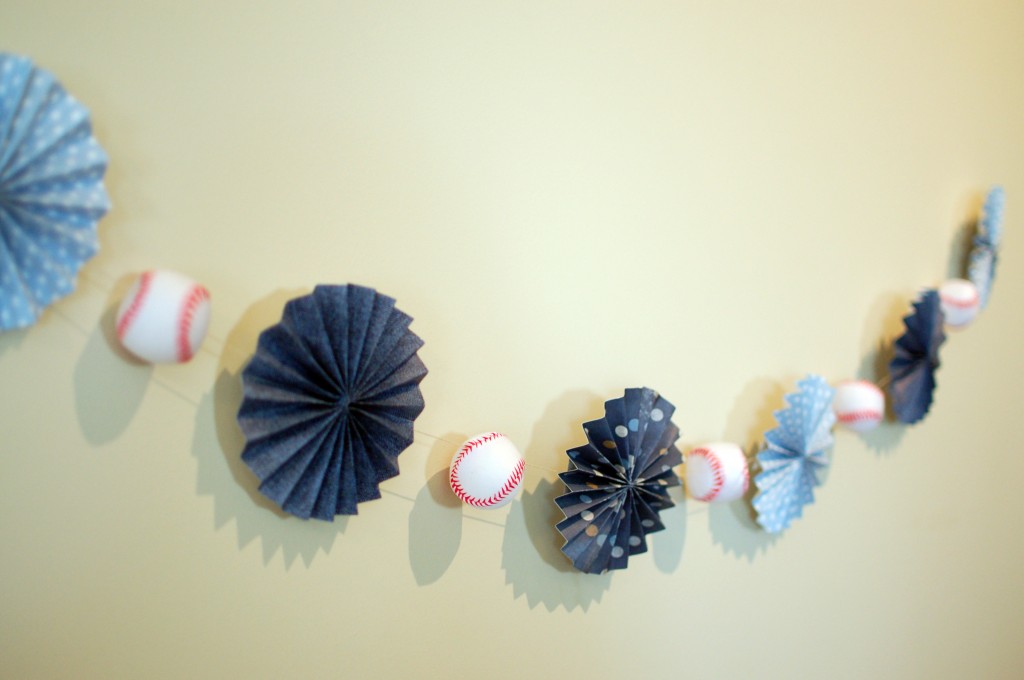
Small (5″) Rosette and Banner
12″ x 12″ scrapbook paper (each sheet makes two)
Double-sided tape
White string
Hot glue gun and glue
Squishy baseballs (I used water toys from Dollar Tree), optional
A needle with an eye large enough for string, only if adding baseballs
1. Cut the paper down to 12″ x 5″.
2. Fold the paper like an accordion, making 1/2″ folds shortways—i.e., along the 5″ edge of the paper. The folds don’t need to be exact for the rosette to come together, so I just eyeball them.
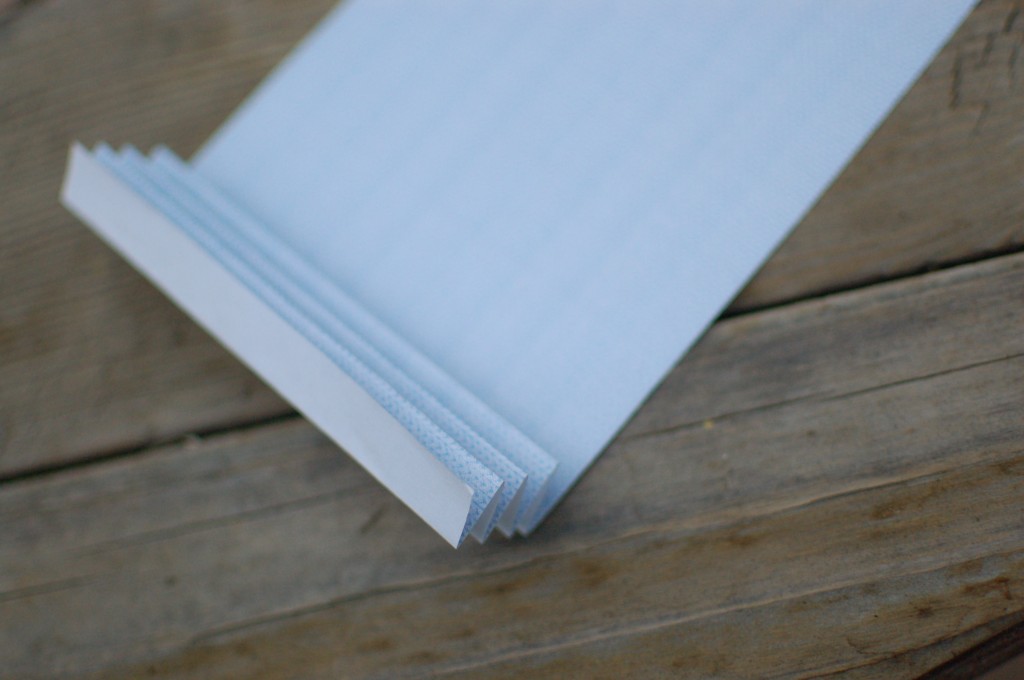

3. Compress the accordion so that you have a 5″ x 1/2″ stack.
4. Fold the stack in half shortways so that the fold goes across the stack with 2.5″ on either side.
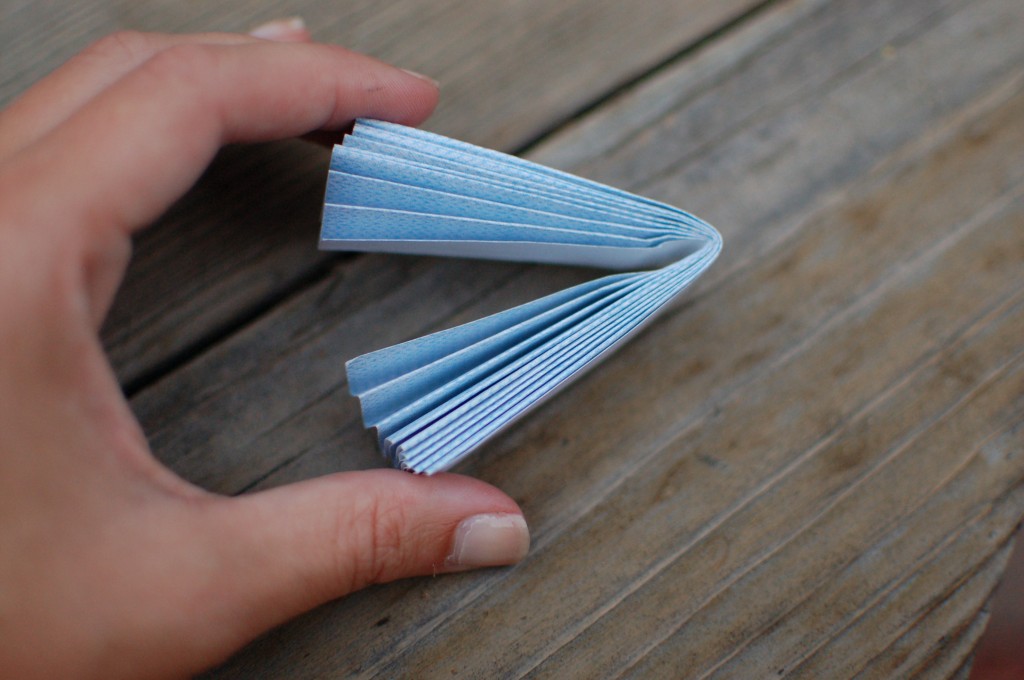
5. Maintaining the the fold in the middle, fan out the accordion on either side of it.
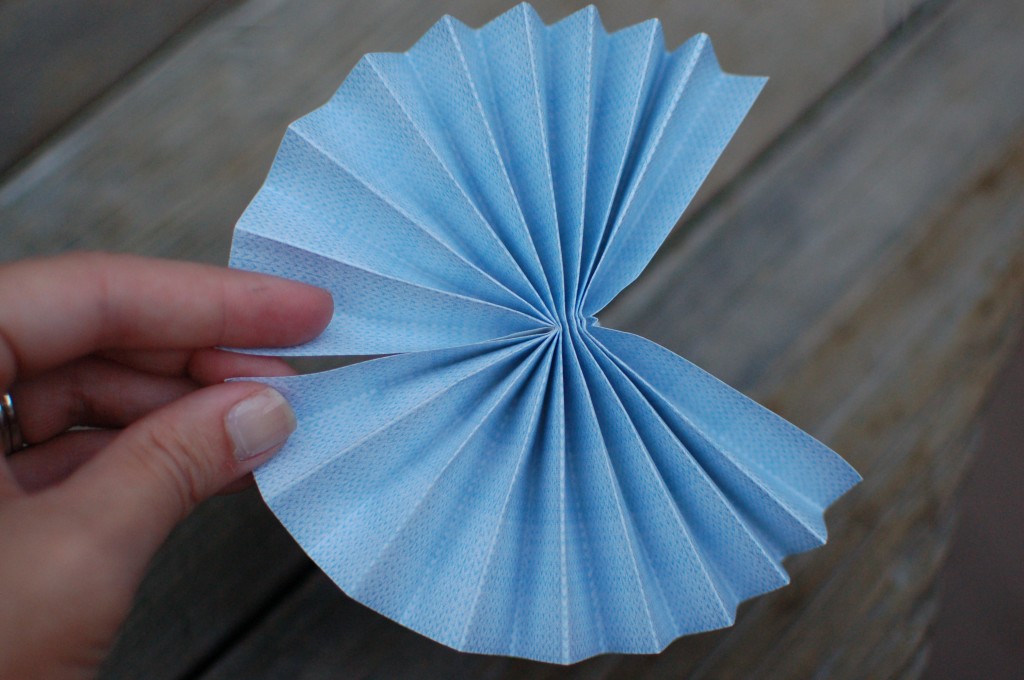
6. Tape the two fans together on each side, forming a disk.
7. Hold the rosette so that the un-bent accordion fold is in the center.
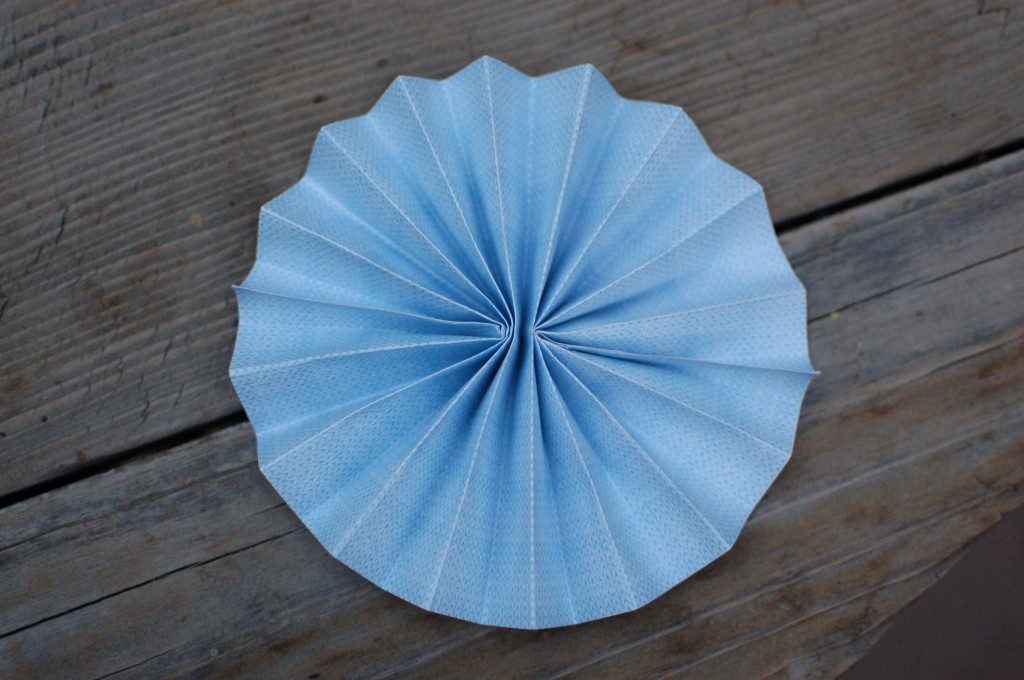
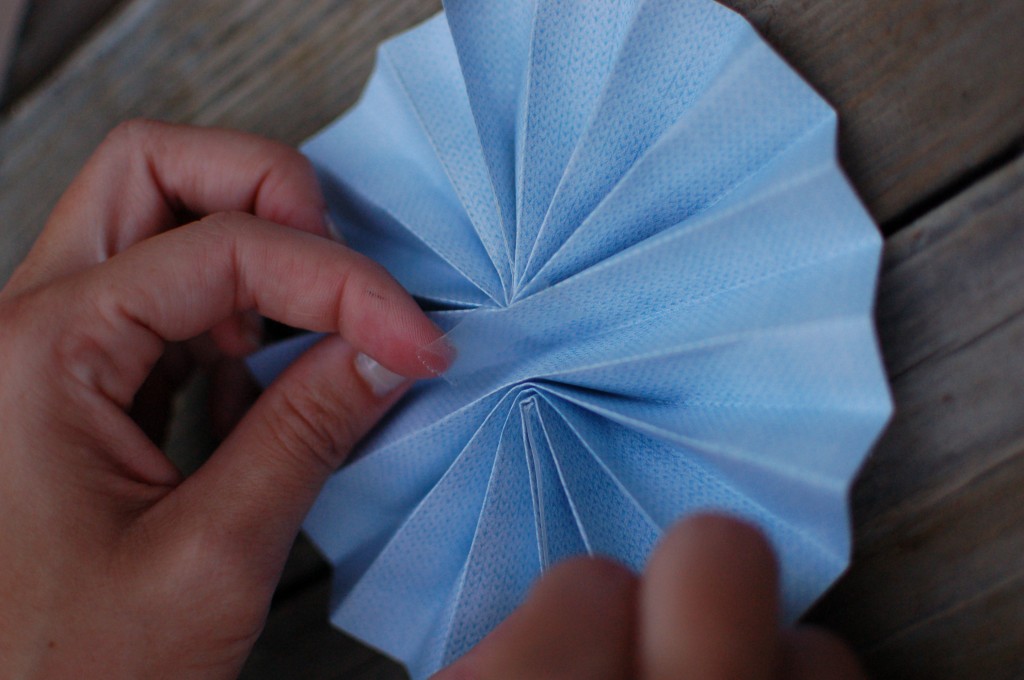
8. Use a small piece of double-sided tape or a dab of glue to affix the folds on either side of central fold to it in the middle, creating the central hub from which the folds radiate out to the edge of the rosette.
9. To make a banner, set out the desired length of string and arrangement of rosettes (and/or baseballs!) on the floor. Using a large needle, string any baseballs or other shapes into place first.
10. To attach each rosette to the string, cut a rectangular piece of paper that is 1/2″–1″ tall and about 3″ wide.
11. Apply hot glue to the rectangle and lay the string across it.

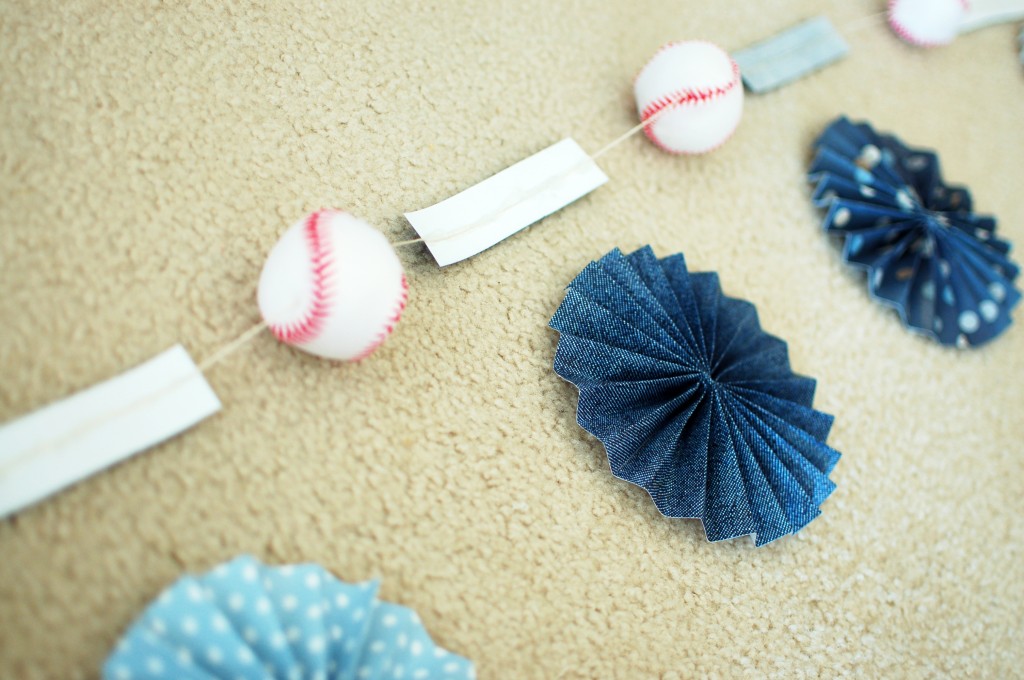
12. Apply more hot glue to the paper rectangle (and string) and set the rosette on top. Rather then centering it, the string should run about halfway between the top and center of the rosette. (Otherwise the rosettes lean forward, like mine did a bit. To fix a tilting rosette, just stick a pin in the wall behind the lower half of it!)
12. Hang!
Large (10″) Rosette
3 sheets of 8″ x 10″ paper
Double-sided tape
1. Fold each sheet like an accordion, making 1″ folds longways–i.e., along the 10″ edge of the paper.

2. Tape the three sheets together, being careful to maintain the accordion structure of the folds and resulting in a 24″ x 10″ accordion.
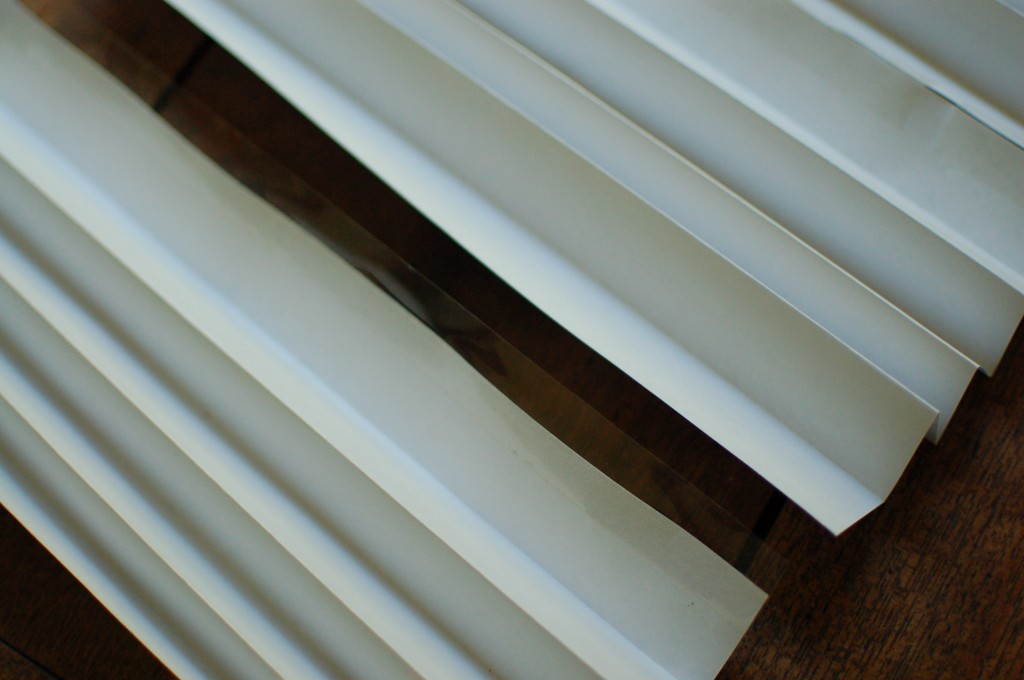
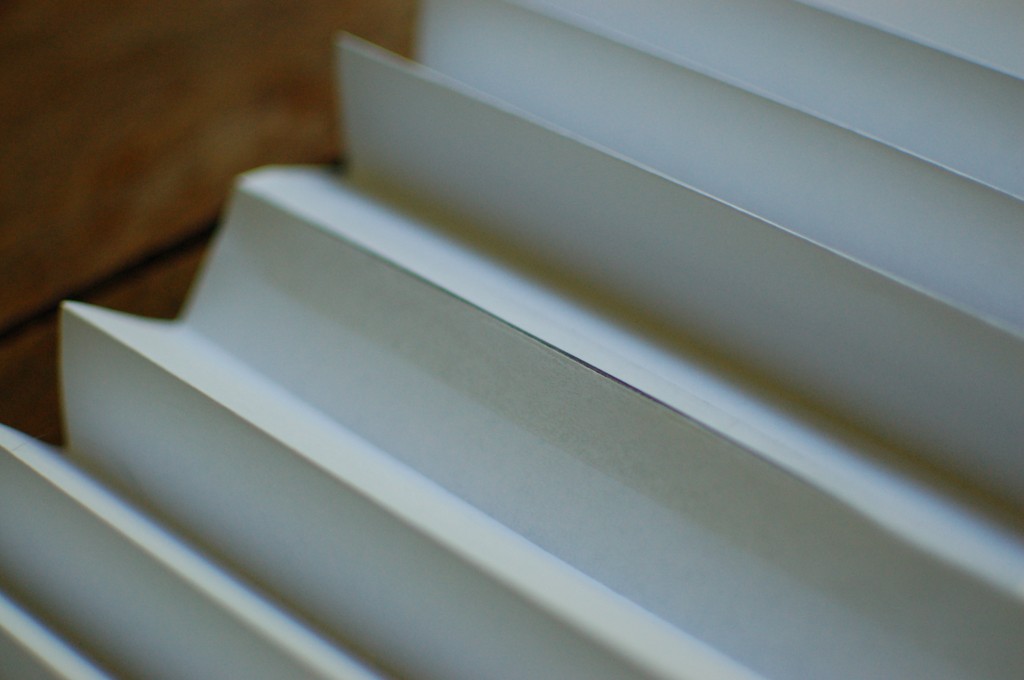
3. Compress the accordion so that you have an 10″ x 1″ stack.
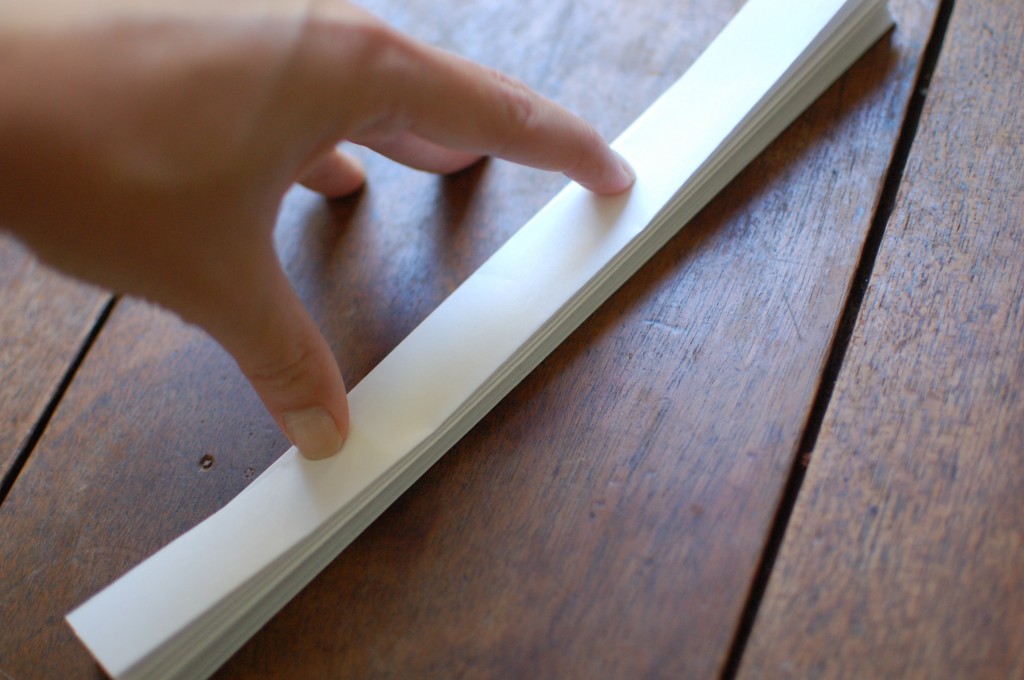
4. Follow steps 4-12 above.
Hole Method
1. Cut two long strips of paper, for example 2.5″ x 11″ or 3″ x 12″. For a larger rosette, just use three or four wider strips.
2. Fold each strip like an accordion with 1/2″ folds.
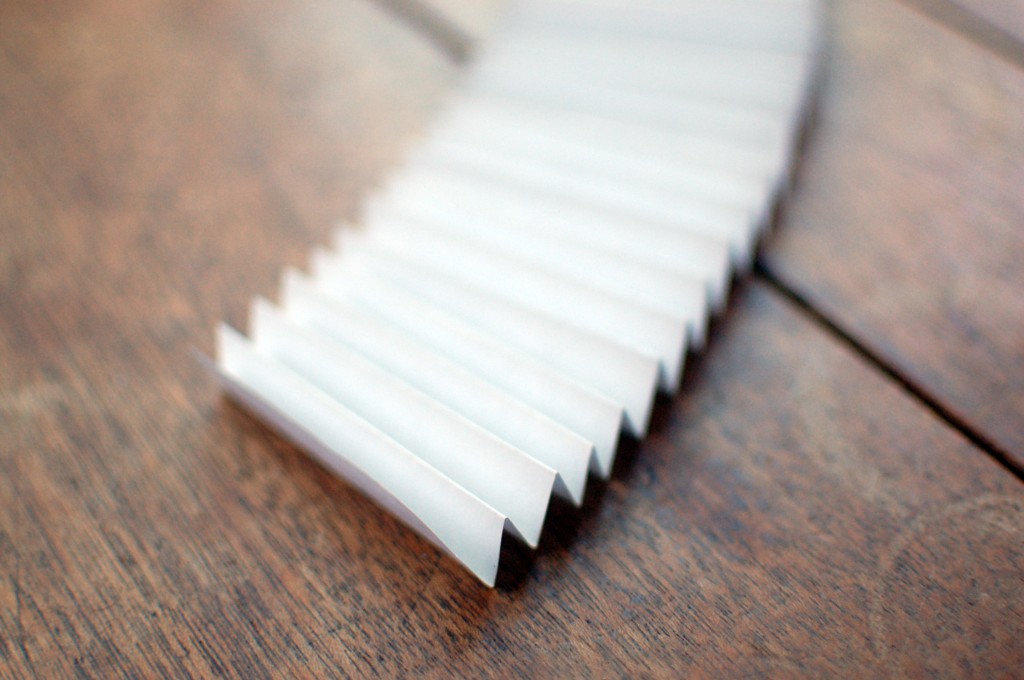
3. Tape the accordion strips together, end to end making a 2.5″ x 22″ (or 3″ x 24″) accordion.
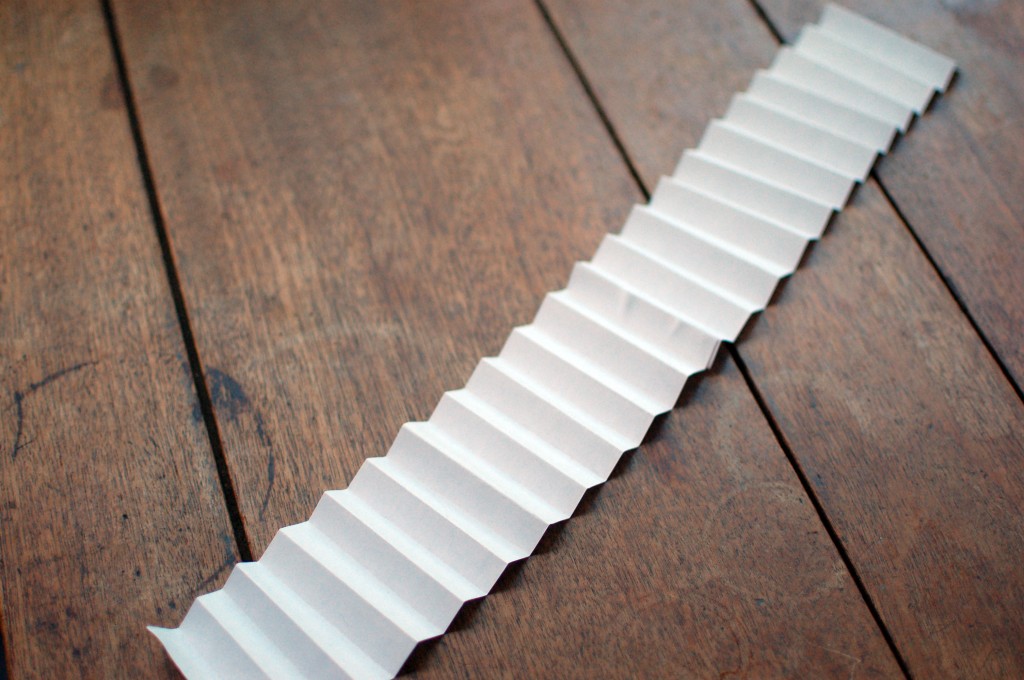
4. Bend the accordion in a circle and attach the ends together with tape.
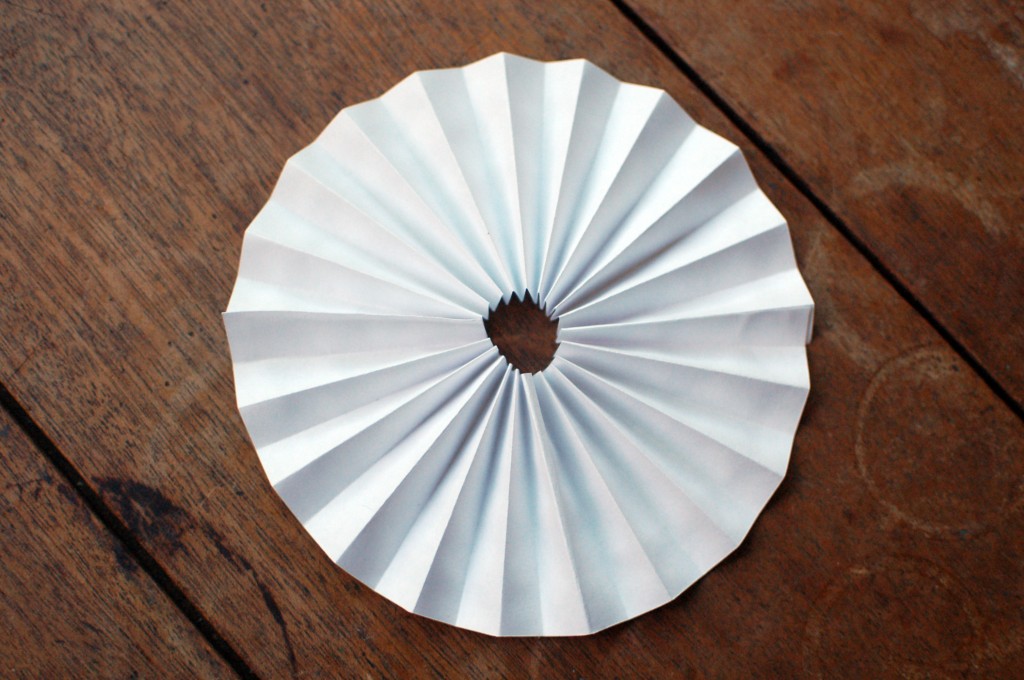
5. Glue circle to the center of the rosette to cover the hole.
Glad you were able to use those baseballs:) Looks cute!
Pingback: 10 idées de guirlandes pour une baby shower à la maison