Note: Greg’s back!
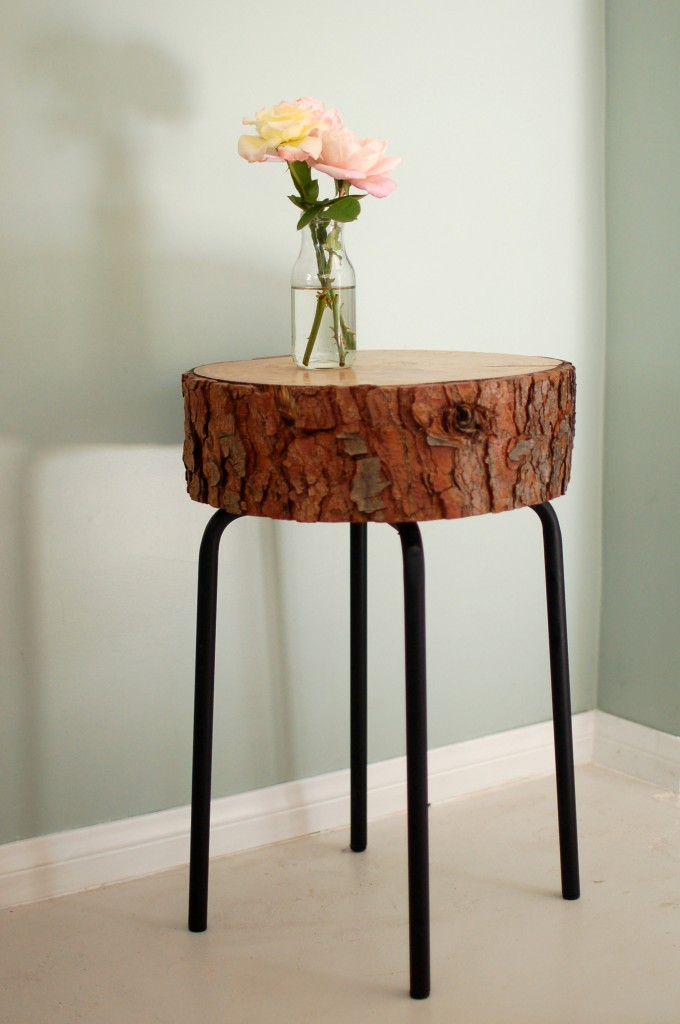
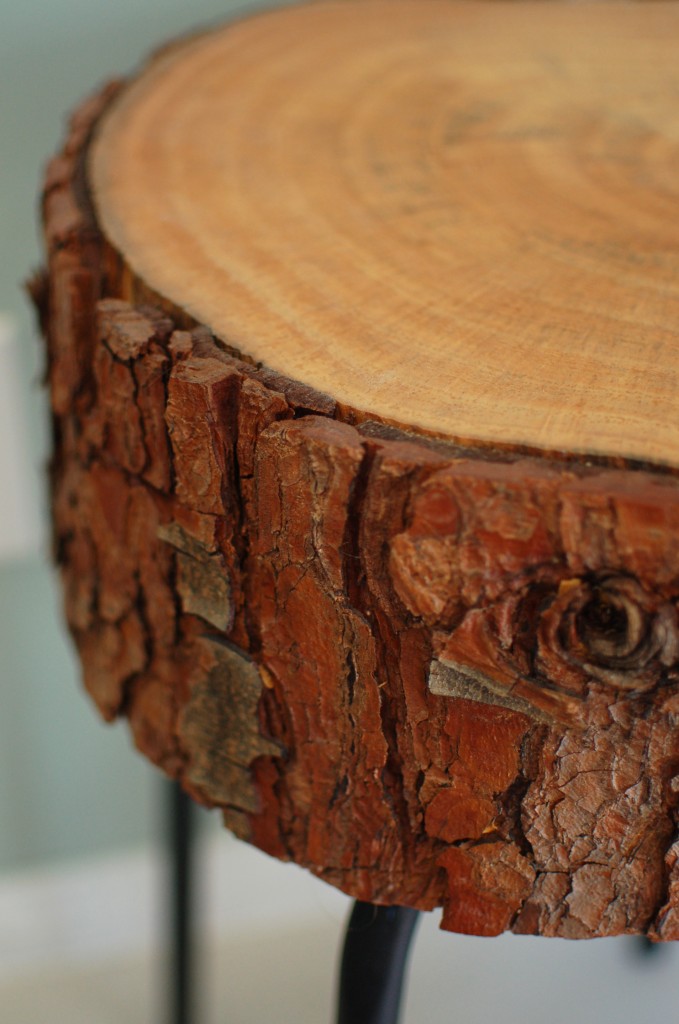
There’s nothing unusual about an end table that’s made from a chunk of tree; in fact, you probably own a few yourself. Things start to get exciting, however, when you can still see the bark and count the rings to find its age! Tree decor is everywhere these days — from branch chandeliers and coat hooks to log pedestals and candle holders. When Jennifer and I saw these log side tables in Domino magazine (Ippolita’s Cigarette), we had to have one (or two or three).
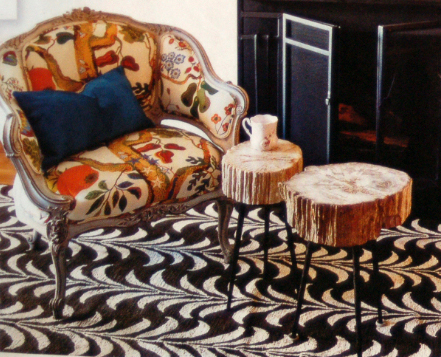
The only trouble was the exorbitant $1,100 starting price. Each. (In comparison, the most expensive piece of furniture we own is the IKEA Malm bed we bought secondhand via Craigslist in Atlanta.) So we decided to do things the old-fashioned way and turn a little elbow grease and a cannibalized IKEA stool into our own log table.
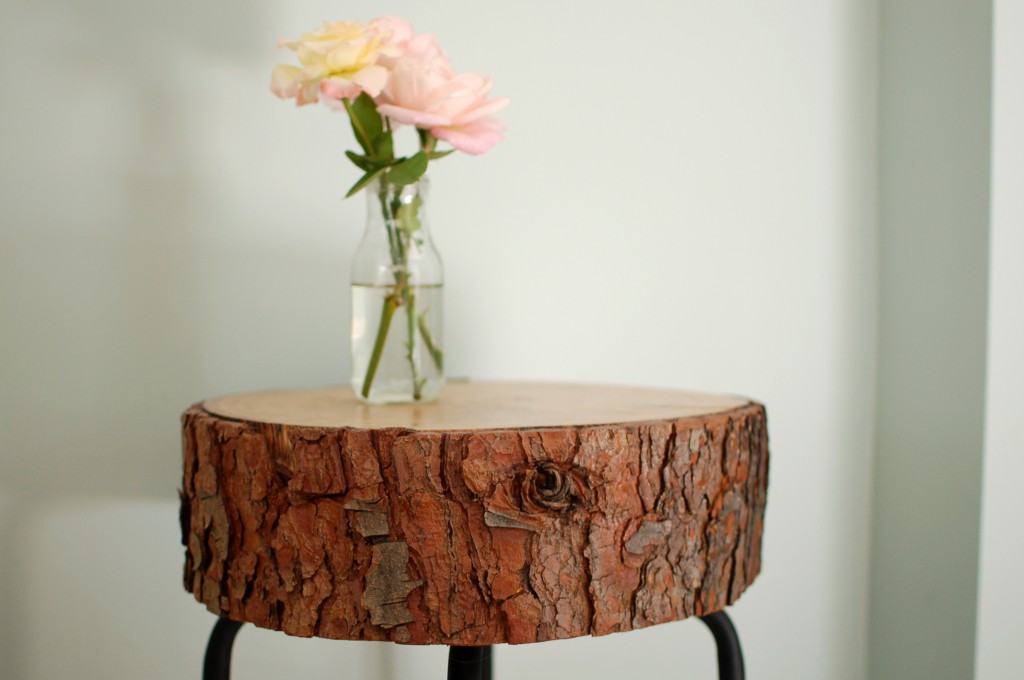
The first order of business was acquiring the log. My parents burn a fair amount of wood both for grilling humongous burgers and to ward off those frigid Southern California winters. Consequently, my dad is always willing to stop for free firewood someone has put out by the curb, including this large section of downed pine they let us scavenge from their wood pile.
The next step was to cut a five inch slice of the wood for the table top. This is best accomplished with a chain saw, which is great for cutting logs but leaves the wood rough and uneven. To level out the surface, I broke out the belt sander. Belt sanders wear down wood very quickly, which makes them great for leveling uneven spots but (at least in my hands) leaves behind imperfections of their own. So after approximately leveling the surface with the belt sander, I took an orbital sander to it, beginning with 80 grit to remove the belt sander marks. I gradually increased the grit, ending with 200 to give it a nice, smooth finish.
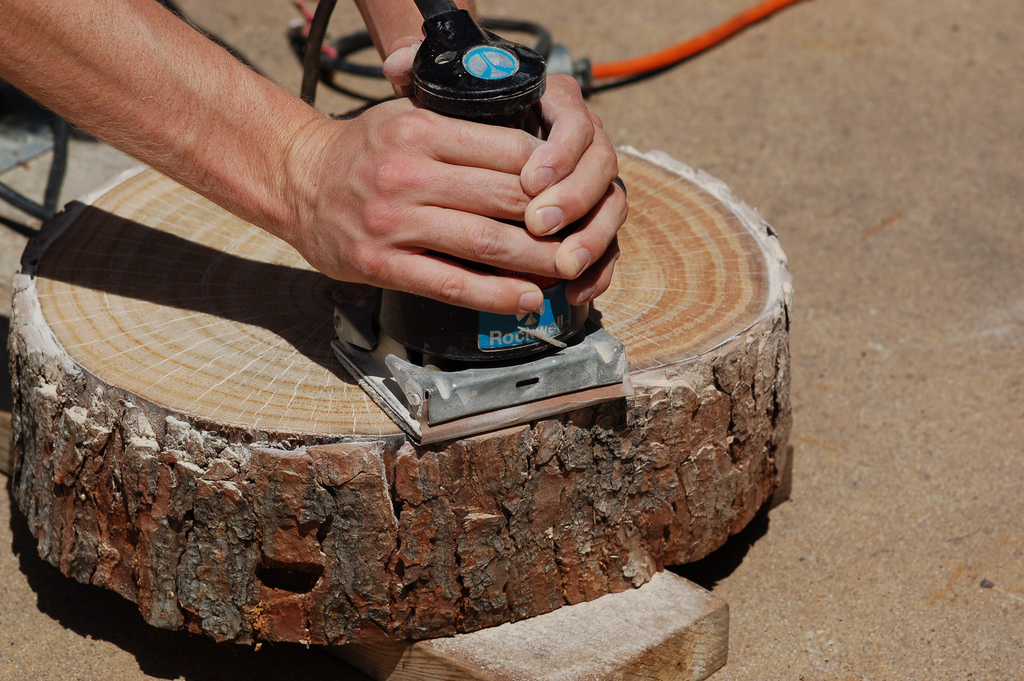
Finally, after disposing of the resulting dust (with a rag and air compressor), I applied three coats of polyacrylic to the top for protection from nicks and liquids. I also applied clear lacquer spray to the bark on the sides for protection.
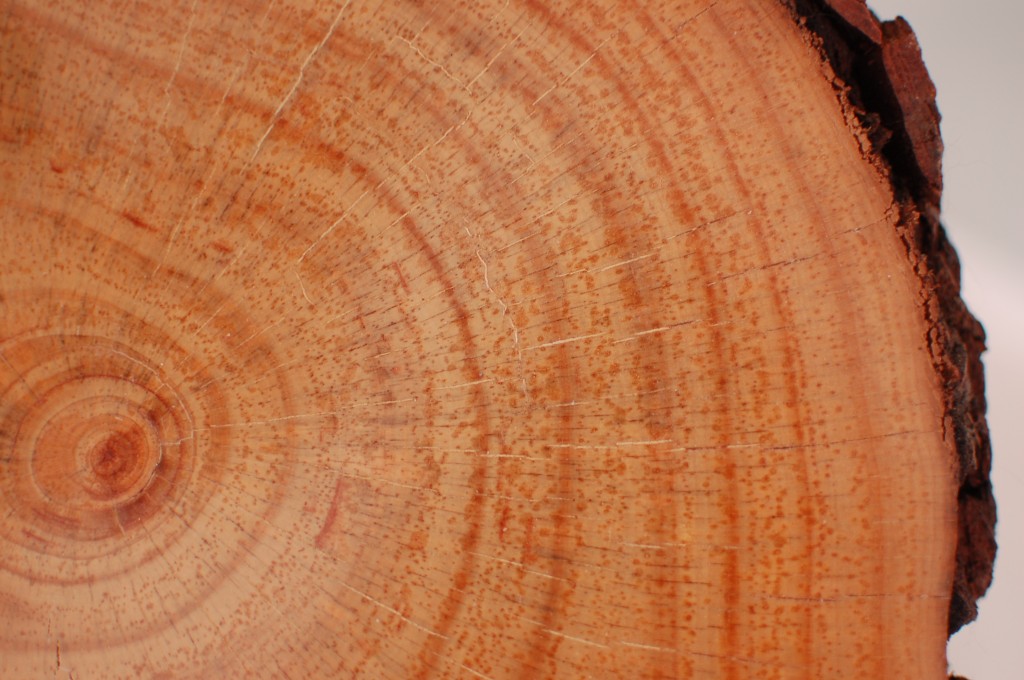
We then attached the log to the legs of an IKEA Marius stool ($5.99). For a more rustic look, we spray painted the glossy legs with flat black paint.
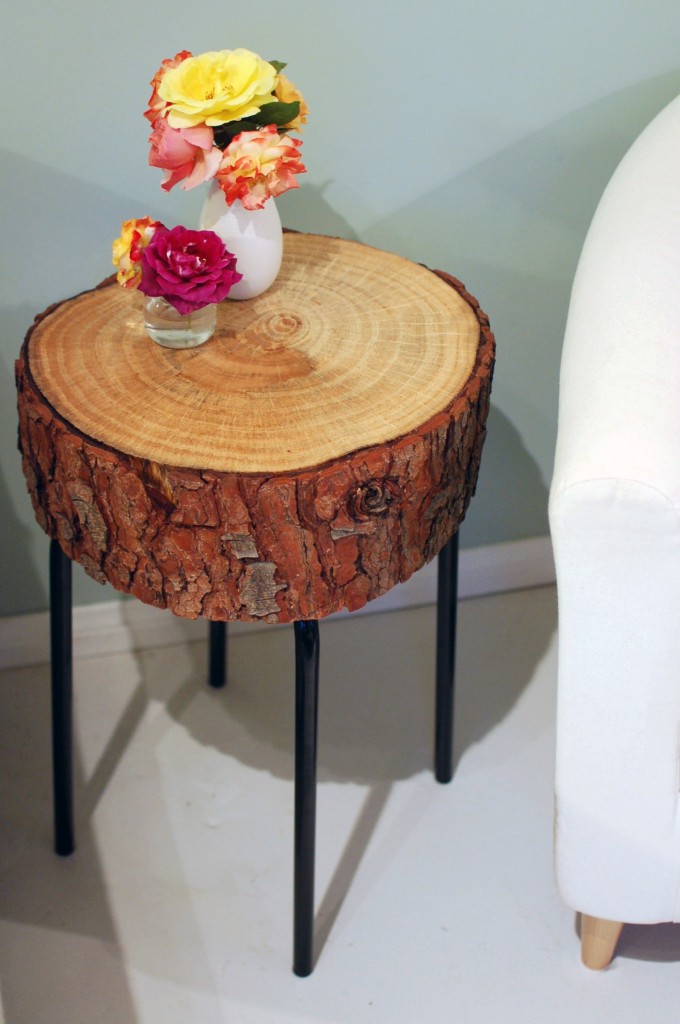
Photo of Ippolito Cigarette from Domino Magazine (RIP!)
Very cute. I like the ones you made much better than the inspiration.
This is ingenius! I’ve been looking for an idea for making inexpensive bedside tables and I’m crazy excited that I found this! Thanks for sharing!
Thanks!
Melissa, good luck! We love our table, and it gets complimented all the time — totally worth the elbow grease!
Your table is so pretty! We are working on one of our own, thanks to an April storm. Have you had any problems with the bark peeling? Bugs? I’d read that it was best to remove the bark, but it looks so pretty with it on. Did you treat it with anything? Thanks for any advice!
Your table is so pretty! We are working on one of our own, thanks to an April storm. Have you had any problems with the bark peeling? Bugs? I’d read that it was best to remove the bark, but it looks so pretty with it on. Did you treat it with anything? Thanks for any advice!
http://thenestinggame.wordpress.com/2011/04/28/stumpy/
Molly,
We didn’t have any trouble with bugs. Some of the bark has pulled away a bit on one side, though it stayed attached. The table still looks great, but who knows if one day that section will fall off! (It has been more than a year, though). Other than that, a few pieces of the bark chipped off when initially cutting the slice, but we were able to glue those back on. The only treatment we used on the bark was spraying it with a few coats of matte lacquer. That has been enough of a seal to keep it from losing tiny pieces or flaking off when touched, but wouldn’t protect it from a hard bump.
Hope that helps! Good luck!
Love love love.
Came from Apartment Therapy and must say I just LOVE what you’ve done! It’s totally my style and I will definitely be making one of these. 🙂
Can not WAIT to do this! Thanks so much for sharing. Also – what’s the paint colour on your walls? Love them 🙂
Thanks!!! Our wall color is Contemplation by Behr.
Pingback: Log Slice Side Table | Decor Hacks
What a great project! We just featured it on decor hacks: http://decorhacks.com/2011/10/log-slice-side-table/. Can’t wait to make my own.
What a genius idea to use the stool! It makes it so easy! I just came across this on Apartment Therapy and I would love to link to your tutorial if you didn’t mind.
Pingback: Un tabouret en rondin de bois | My Diy
I just came across your website from Apartment Therapy. Thanks for this. I’ve bookmarked your instructions and hope to make something like this.
PS. You guys are great. Keep doing what you’re doing.
All the best from Canada!
Pingback: Déco #2 – My-Diy.fr « La Ligne Noire
Love the idea. Living on a wooded lot, I am always in search of ways to use fallen trees.
Pingback: DIY Stump Table via Seakettle « the cabinologist
Thanks for this! I am definitely planning to make a pair of these for bedside tables. I just shared the project on my blog about exploring the cabin as a state of mind.
http://thecabinologist.com/2012/04/03/diy-stump-table-via-seakettle/
Pingback: 33 Ways To Be Inspired With Sliced Wood
Pingback: Friday Favorites: 5 Wood Projects for the Home
Pingback: Crazy 'bout Tree Stump Tables
Pingback: 10 Stylish DIY Side Table Ideas & Tutorials
Hi Jennifer,
Firstly, beautiful pics. Have you had any issues with bugs at all coming out after the wood has been in it’s new home? I would not be too freaked by this but was wondering. “)
I love any project that encourages bringing nature in!!
Thanks,
Colleen
Farmhill Furniture
Colleen,
Thankfully, we haven’t had any bug problems with our table. And it’s still going strong, two years later!
Pingback: sunday diy [nightstand] | the pretty in life
Pingback: 13 Creative DIY table designs for all styles and tastes
Pingback: Snickra eget litet bord? Idéer och inspiration
Pingback: 25 {More} Ikea Hacks–DIY Home Decor
Thank you so much for this post! I’ve had a slice of cedar from an Extreme Makeover house that we volunteered on 4 years ago! I could never figure out something special to do with it. Now I know: I’m going to make a footstool for my living room.Thank you for your amazing creativity.
How did you apply the legs to the wood?
Is it strong enough to sit on? Love it as a stool.
Patti,
The bark on this particular log wouldn’t hold up well to the wear and tear of being used as a stool. If you took the bark off, I don’t see any reason why it wouldn’t be strong enough — it is the base of a stool underneath, after all!
Hi Tania,
I attached the stool legs to the wood using four wood screws, one through each of the holes that would normally be used to attach the legs to the stool seat. I hope that helps!
I love this idea, I think I may make some myself.
I had to laugh though at your comment on frigid southern CA winters. Frigid? have you been to New England in winter, or any midwest state? 🙂
Steven,
Yep. 🙂 I’m from Missouri, and my husband (California native) and I went to college in Indiana. Californians really are wimps, though. At 60 degrees they get out their gloves.
Just stumbled upon this on Pinterest and I LOVE IT!!!! I want to make one for my house now.
Pingback: Coffee table made from a log slice | Home Design
Pingback: DIY avec une bille de bois, des rondins et des rondelles | PLUMETIS, le blog
Trying this out for myself and wondering the diameter of your wood slice before hunting for one. Also did the wood crack or split at all? Thanks so much!
Lauren,
Our slice isn’t quite round, and it’s about 15″ at its widest and 13″ at its narrowest. We did get one significant 3″ crack and one warped spot in the bark after a few months, but neither had much impact on the table (ie the bark didn’t fall off and the table is still sturdy). The table didn’t get any new cracks after that initial period, so if you have the time to let your wood *really* dry out before using, that’d be ideal. A few months will get any cracking out of the way before you’ve put any work into it, and then you can decide if you still want to use it for a table. Or just go for it — the little crack in ours adds character!
Pingback: DIY Log Slice Table | Lake Home & Cabin Show Blog
I can’t wait to show this to my husband. We have a log slice our daughter used as her cake stand for her wedding cake. We saved it in the hope of using it for a table someday. This would be perfect. Thanks for the idea!
Pingback: branch out | Three Apples Events
Pingback: 101 Ikea Hacks - EverythingEtsy.com
Pingback: 15 Beautiful DIY Coffee Tables
Pingback: 15 ?????? DIY ?????????? ??? ?? ?????????? ?? ?????? ??? | ???????????? ??? ??????????
Pingback: 15 ?????? DIY ?????????? ??? ?? ?????????? ?? ?????? ??? | ???????????? ??? ??????????
Pingback: IKEA hacks | Provocateur Magazine
Pingback: Log Slice Table DIY Tutorial | Hip Home Making