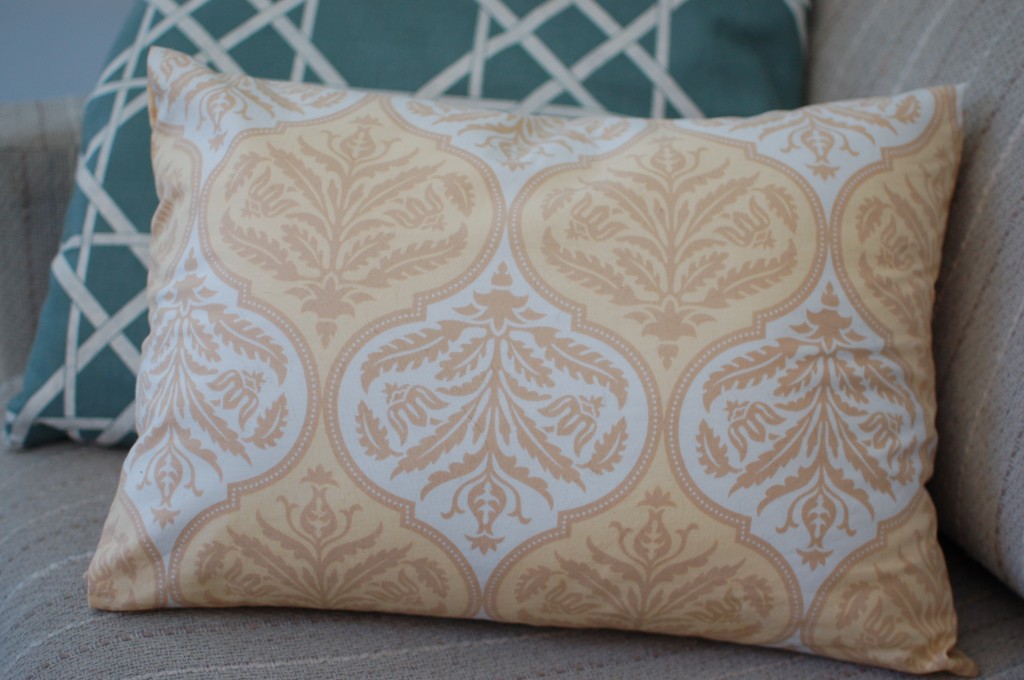
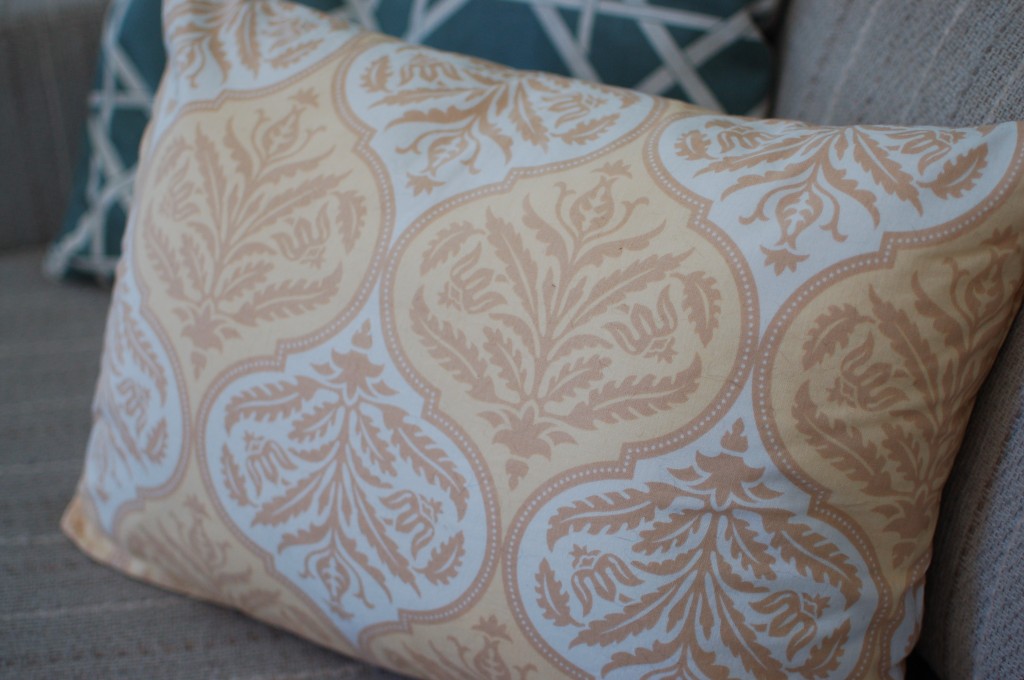
I’m finally recovering a few pillows for our lonely living-room loveseat. It has been waiting for a little color for, oh, ten months, even though pillows are super easy to make! I looked around for patterns — I wanted a pillow cover that could be removed for washing, but I didn’t feel like dealing with zippers. Enter envelope pillow cover.
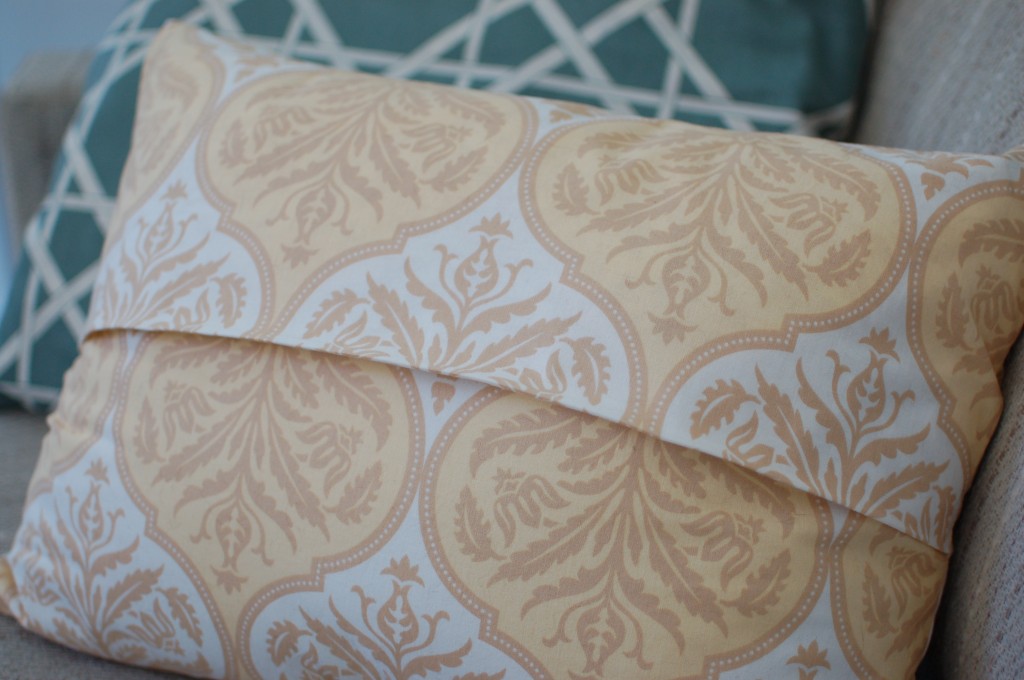
I followed a curbly.com tutorial, and it was the easiest sewing project I’ve ever undertaken. Cut, fold and two quick hems on the machine! Now, granted, the final pillow is a bit unconventional, but it looks great. Because this method uses one long strip of fabric (rather than separate front and back pieces), it’s perfect for continuing vertical patterns without interruption. No more mismatched stripes.
I modified the tutorial instructions a bit, just to make them more precise — I was nervous about the tutorial’s “fold bottom of fabric up about 1/3” and actually getting the correct size cover. Here’s a more precise approach:
1. Cut a piece of fabric that is the width of your pillow + 1″ (mine was 19+1=20″) and 2.5 times the height of your pillow (mine was 12×2.5=30″).
2. With fabric right side up, fold the bottom of the fabric up 3/4 of the pillow height (mine was .75×12=9″).
3. Take the folded edge and fold it back 1/4 of the pillow height (mine was .25×12=3″), creating a flap. This is equivalent to folding it half way down, though it appears to be less in my photo.
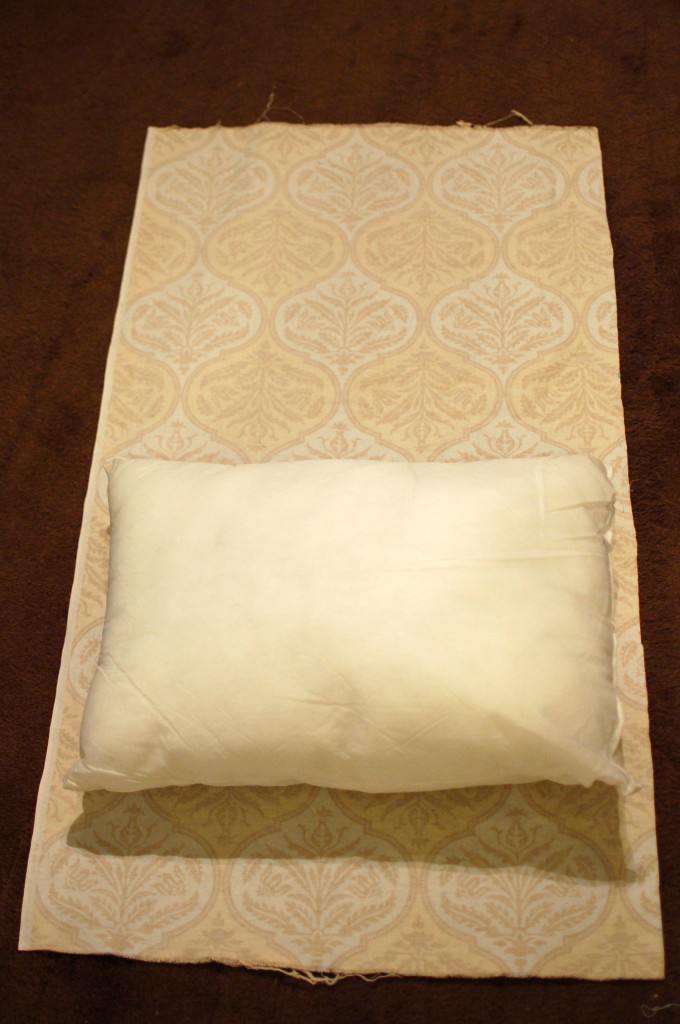
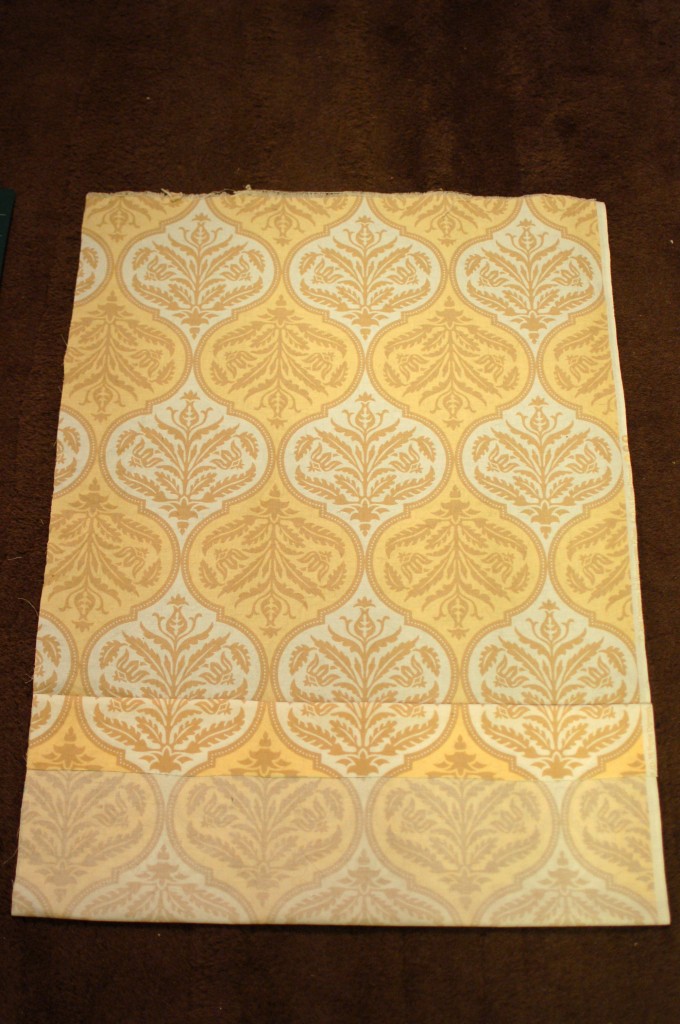
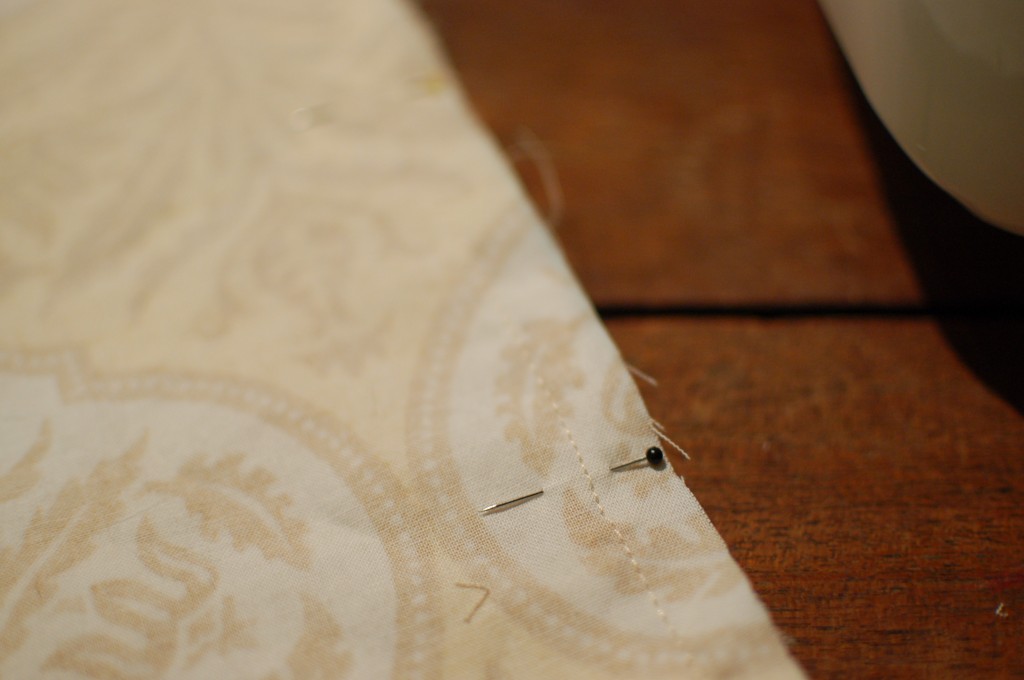
4. Take the top, unfolded edge of fabric and bring it down to the flap, so that it covers it exactly. Pin the raw edges.
5. Sew 1/2″ seams on the raw edges.
6. Flip the cover right-side out and stuff in your pillow!
What’s up every one, here every person is sharing such
knowledge, so it’s pleasant to read this web site, and I used to visit this weblog daily.