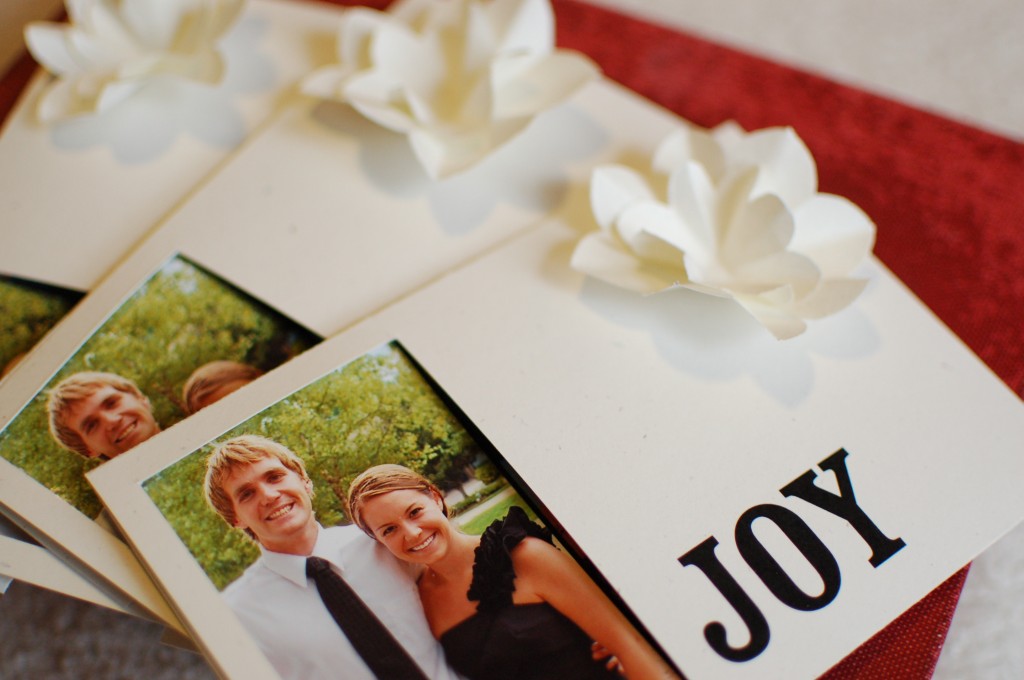
I got a little carried away with Christmas cards this year! While brainstorming ideas for the cards, I quickly folded a little sleeve and paper flower to hold our photo. I figured that since the model was so quick and easy, repeating it on actual cards would be, too!

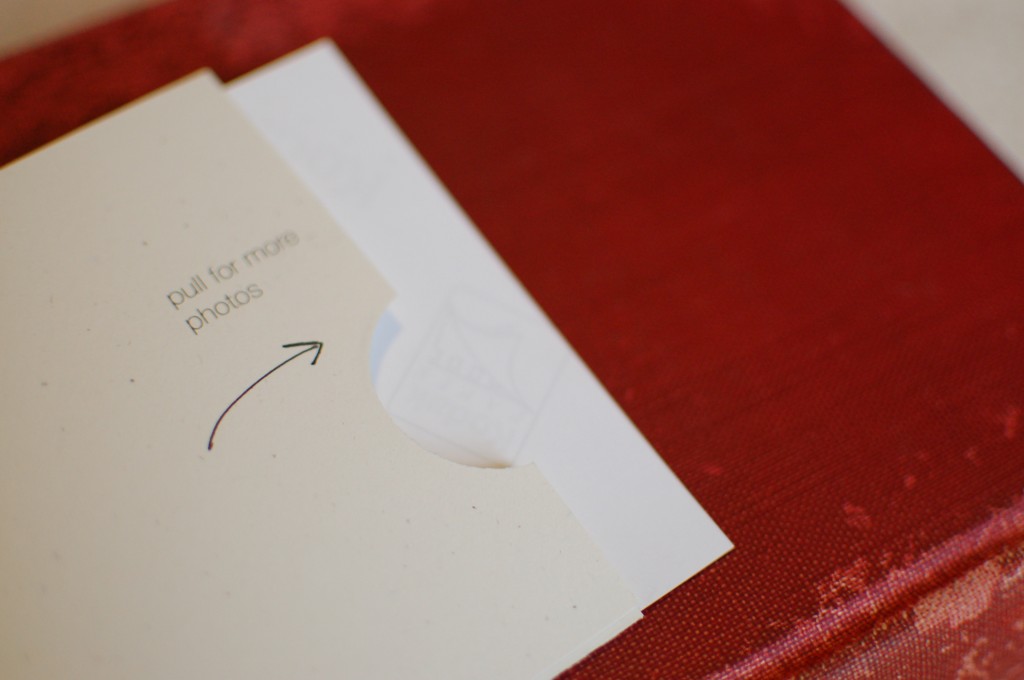
Turns out (and I should have known this, from making our wedding invitations), card stock really does have to be pre-scored in order to fold nicely, and card stock flowers don’t look so hot because the folds aren’t crisp enough. So, after a lot of additional work scoring and purchasing some lighter-weight paper, we had some Christmas cards that I’m very proud of! Each sleeve contained a 4×6 photo collage; one photo was visible through the card window, and the rest were revealed only by pulling the tab on the back. We even managed to get most of them to their destinations before Christmas, a major goal of mine!
I thought I’d share the template, in case anyone else is interested in making something similar. They’re not too complicated for making in small batches, but I don’t want to mislead you into making them for dozens of people unless you’re aware of and willing to spend the time it requires! In fact, I kept accidentally referring to them as “our invitations” instead of “our Christmas cards”, because I haven’t spent so much time with a pile of paper since we made our wedding invites two years ago!
Download: Joy card template with text
Download: Blank card template
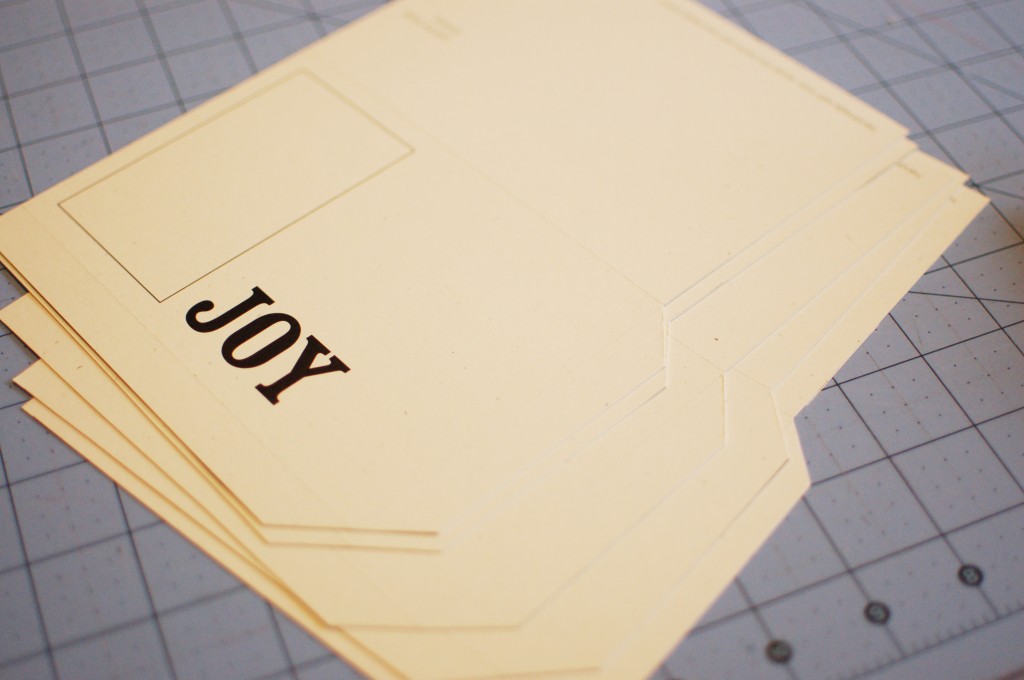
1. Cut along the black lines on the template to cut out the card and cut out the rectangle for the photo.
2. Using a circle punch, cut out a half-circle tab on the back of the card.
3. Score the two flaps on what will be the front of the card. Score the center fold line.
4. Fold over the flaps and apply white school glue to the flaps.
5. Fold the card along the center fold line, gluing the back to the flaps by pressing along the edges.
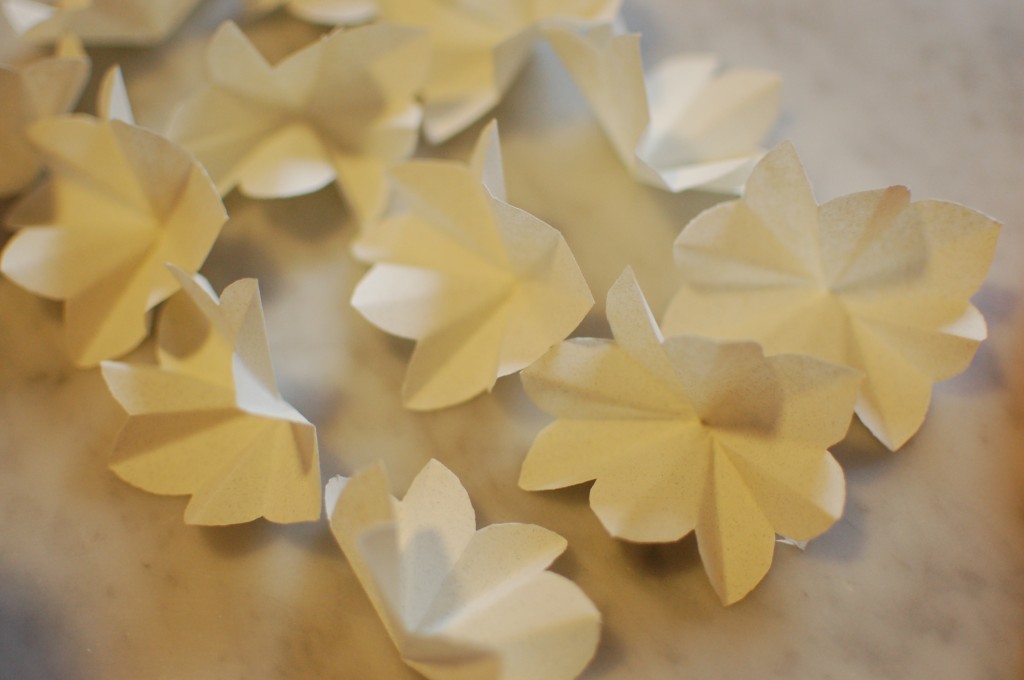
For the paper flowers:
1. Cut out a 2.5″ square. (The first few steps are like making tiny snowflakes!)
2. Fold the square in half, forming a rectangle.
3. Fold the short side of the rectangle across to the opposite side forming a square.
4. Fold one corner of the square onto the opposite corner forming a triangle.
5. Hold one of the corners adjacent to the long side of the triangle. Fold the triangle in half along a line from the corner you’re holding to the middle of the short side of the triangle opposite that corner.
6. Hold the paper by the folded, unopened side. Cut the petals: starting about 2/3 of the way along the opened side, cut a curve from the opened side to the tip of the unopened side. The opened side should now be about 1/3 shorter than the folded, unopened side.
7. Cut out a 1.75″ square and repeat the above steps.
8. Unfold your flowers.
9. Glue the center of the small flower to the center of the large flower using a small dab of white school glue. Be careful to glue only the centers, not the petals together.
10. Glue the center of the large flower to the upper right corner of the front of the card. Make some extras and glue them to everything!

Photo locations!
Left: Greensboro, SC
Center, top: Yosemite, CA
Center, center: Vasquez Rocks, CA
Center, bottom: McWay Falls, CA
Right, top: Multnomah Falls, OR
Right, bottom: Port Hueneme, CA
jen, i loved your guys’ Christmas card! so cute and you both looked beautiful/handsome in your photo!
long time no see, girl. i haven’t given up on the idea of a girls’ night… as soon as my next retreat is done, i’ll probably need one haha!