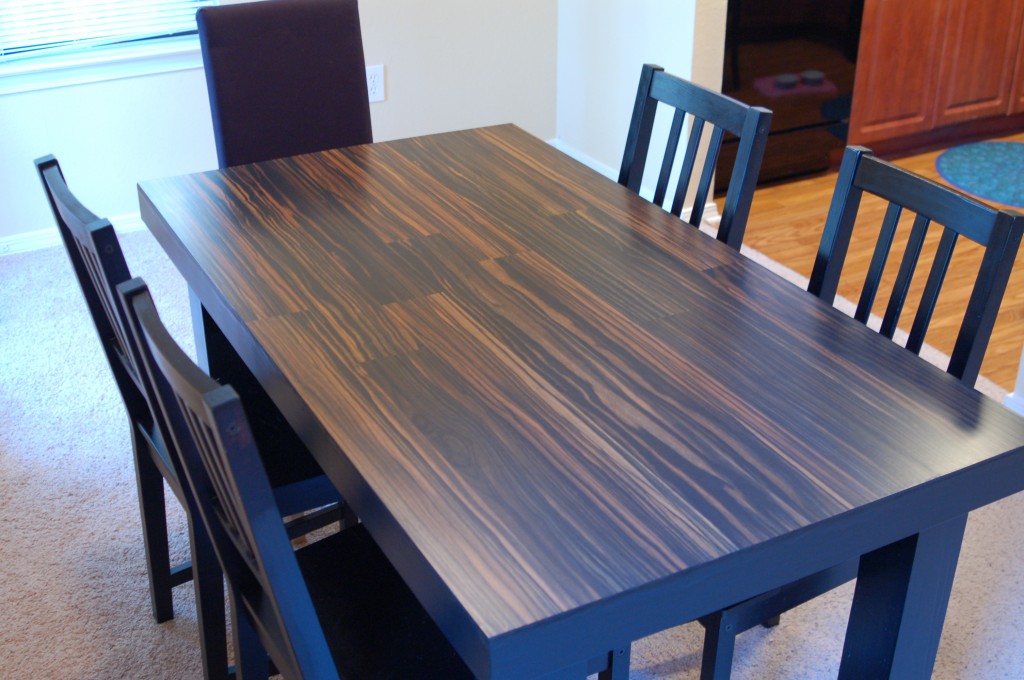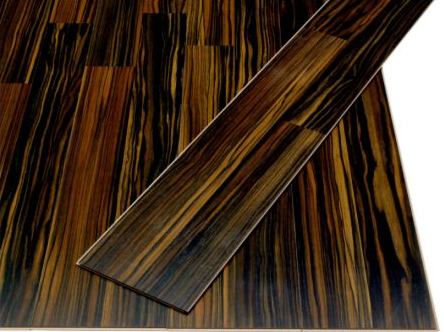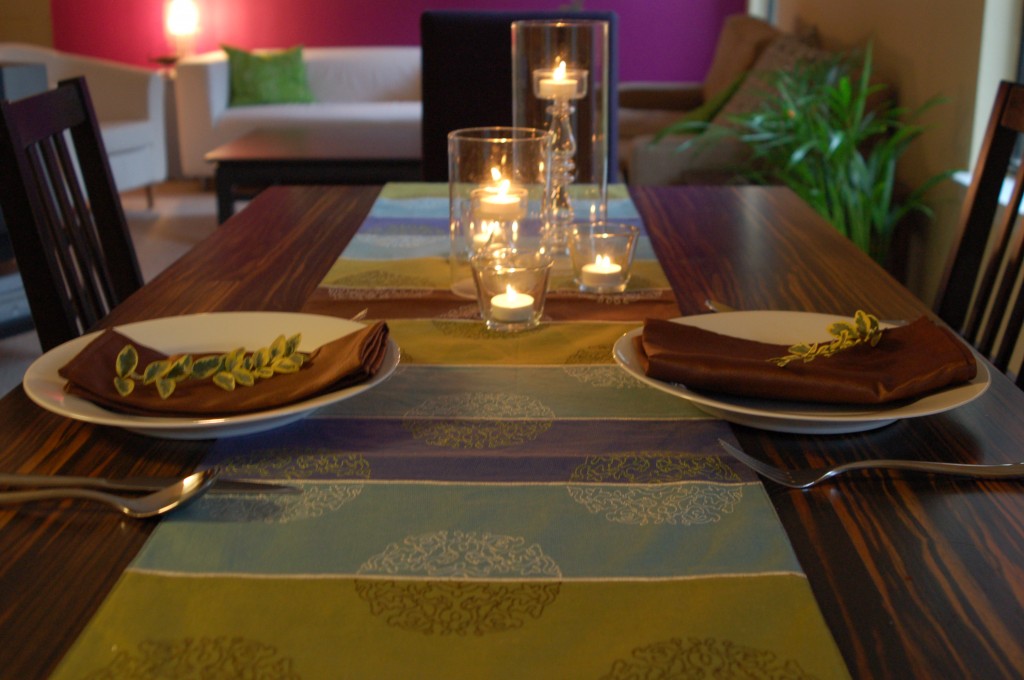
While living in Atlanta (and visiting IKEA regularly), Jennifer and I fell in love with the dark brown Tundra laminate flooring from IKEA. We couldn’t use it as flooring since we were renting an apartment, but we were unwilling to abandon the Tundra altogether. We decided it could make an interesting and durable tabletop, and I set about trying to build a table featuring the laminate flooring. Since this was my first major carpentry project, I’ve made some adjustments that should improve the design.

Supplies
4 pieces of dark brown IKEA Tundra laminate flooring
2 3x3s, eight feet long
2 1x3s, eight feet long
1 2×2, six feet long
1 large piece of 3/4″ plywood
8 metal corner brackets
2 1/2″ wood screws
1/2″ screws
Wood putty
Wood glue
Ebony (or black) stain
Polycrylic satin finish
1. Cut each 1×3 into a 54″ piece and a 32″ piece with ends mitered at 45 degrees (so that the ends point in rather than being parallel).
2. Cut the plywood into a 52 1/2″ x 31 1/2″ rectangle.
3. Cut the 3x3s into four 27″ pieces. These will be the legs.
4. Cut the 2×2 into four 10″ pieces with ends mitered at 45 degrees (so that the ends point in). These will be cross supports for the corners.
5. Sand the legs (3x3s) and apron pieces (1x3s) with an orbital sander beginning with 40 grit and gradually increasing the grit to 200.
6. Using the sander (40 grit), sand off the lip protruding from the short side of the laminate pieces and from the long side on one piece. (In normal applications, this lip locks into the adjacent piece allowing the flooring to fit together into a smooth surface.)

7. Snap the four Tundra pieces together, laying them on a large piece of cardboard so they can be moved or inverted without flexing them too much. The piece whose protrusion on the long side was sanded off goes on the end so that there are no parts sticking out from the assembled laminate flooring.
8. Flip over the flooring over so that it is face down and glue the four 1x3s in place along the edges of the flooring using wood glue and clamps.

9. Fill the gap between the apron (1x3s) and the flooring surface using a stain-accepting wood putty, smoothing and lightly sanding the sides so that they are flush with the 1×3 apron.
10. Stain the legs, apron (including wood putty), cross supports (2x2s) and one side of the plywood with ebony stain. Apply 3-4 coats to the legs and apron and 1-2 to the cross supports and plywood.
11. Attach the 3×3 legs to the four corners of the plywood using 5 screws for each leg.
12. Add two corner brackets to each leg for additional stability, using 1/2″ screws when attaching them to the plywood.
13. With the tabletop face down, apply wood glue in the inside corners of the 1x3s and slide the plywood with legs onto the underside of the tabletop so that it fits snugly between the 1x3s. Clamp the legs to the apron so that the wood glue bonds them.
14. Add a mitered, 10″ cross support to each corner gluing it to the plywood and 1x3s and screwing it to the leg using a 2 1/2″ screw.
15. Flip over the table and apply 4 coats of water-based polycrylic finish to the legs, apron and tabletop.
17. Enjoy!

You guys! Gorgeous table! Where is it??? Is it in your house now? I’m confused!
Haha, yeah, that is confusing! It’s being stored under our bed (with everything else!). In our current, tiny dining area, we needed a table that could start small and expand to seat six or so. We’re hoping to get it back out wherever we live next!
Absolutely Stunning, thank you for the brilliant idea.
Do you have any pictures of the underside showing how supports and legs look after they are attached?
I’m looking for the ikea brown tundra flooring. IKEA doesn’t care it anymore. If anyone has some please contact me ibet33@yahoo.com.
Thanks,
Austin
What did you do about the edges? Do you just have the raw flooring edge on it, or did you do something to it (like adding a bevel) to make it smooth?
Pingback: 18 Innovative Repurposing Projects to Upcycle Flooring Tiles - DIY & Crafts
Pingback: 15 Brilliant DIY Ways To Upcycle Flooring Tiles - Style Motivation
Pingback: 15 Brilliant DIY Ways To Upcycle Flooring Tiles – chuckiesblog
What’s up colleagues, nice article and nice arguments commented at this place, I am
genuinely enjoying by these.
I need to find 3 pieces of this flooring. Anyone know where I can’t get this?