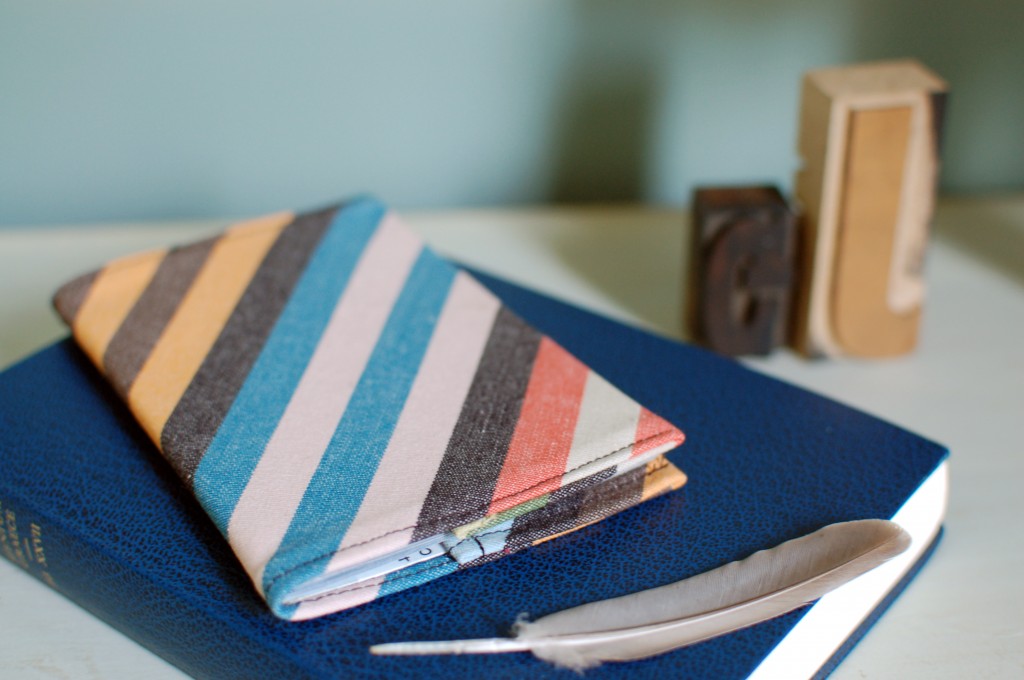
Just in time for summer vacation, here’s a (relatively) easy way to brighten up a boring passport, for a lot less money than filling it with stamps! I say “relatively” because I ended up with some very goofy stitching on my very easy project. Oh well. Next time I’ll pick a fabric with fewer colors and a thread that blends in with the background!
I used a scrap of striped IKEA fabric, rotated to create diagonal lines. The thickness of this fabric made the corners a little tricky (hence my crazy crooked lines), but the pattern was perfect for the project. This particular fabric is nearly identical on front and back, so it looks polished even without a lining fabric.
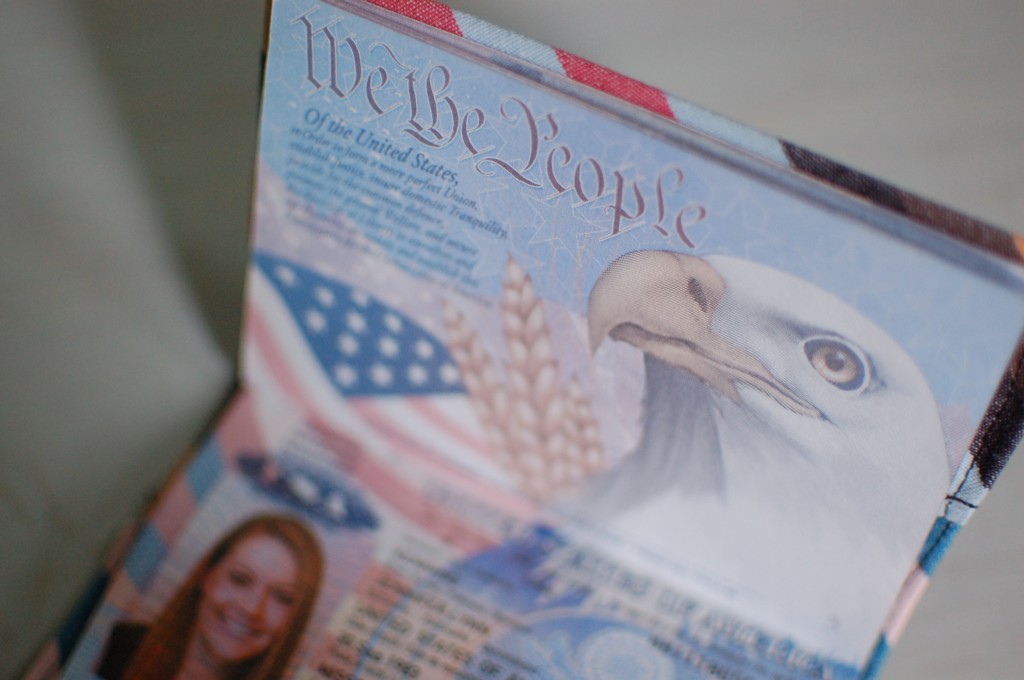
Oh, and here’s a passport trick that will buy you a few extra scoops of gelato — take your passport photos yourself and get them printed at any local photo counter. The State Department gives very clear guidelines for getting the proper shot, and you can take an unlimited number of practice photos! It’s nice to have an ID photo that both the government and I are satisfied with.
Supplies:
12 x 6 1/4″ fabric (you can use two pieces back to back, if you’d like a different lining fabric)
Ruler, pins, scissors, thread, sewing machine
1. Cut 12 x 6 1/4″ fabric rectangle.
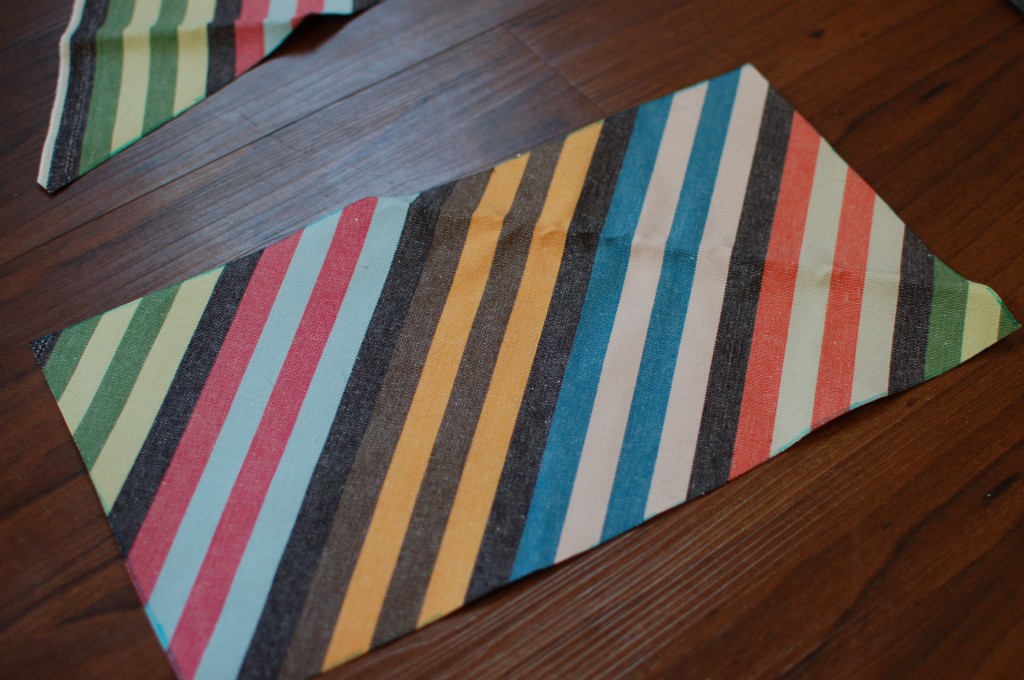
2. With fabric wrong side up, fold each of the long edges 1/4″ toward the middle and iron. Repeat, creating a narrow hem.
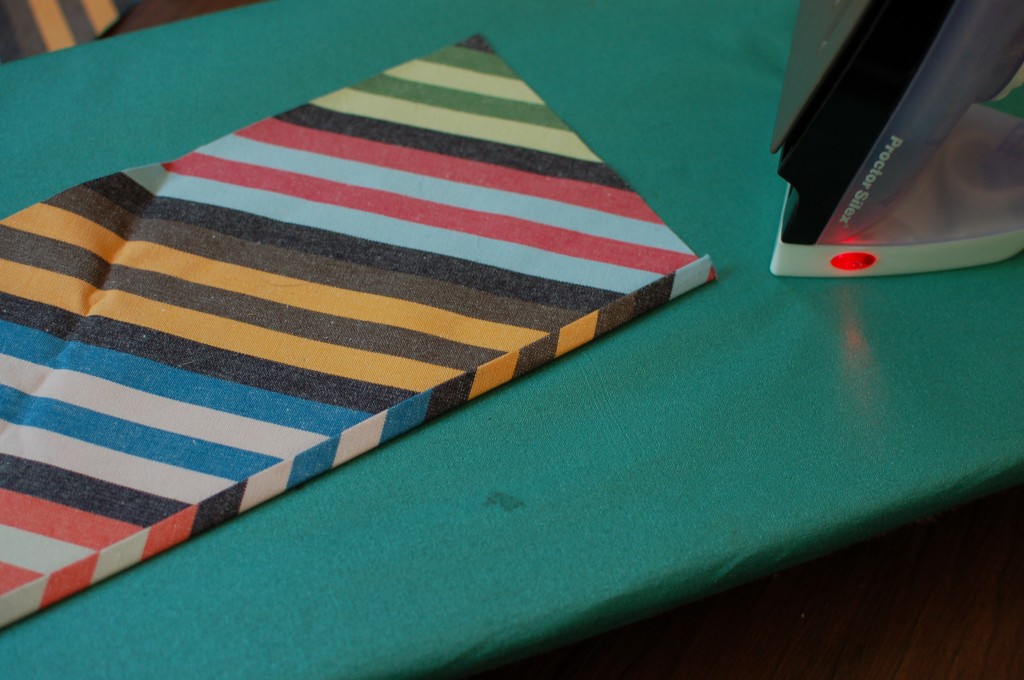
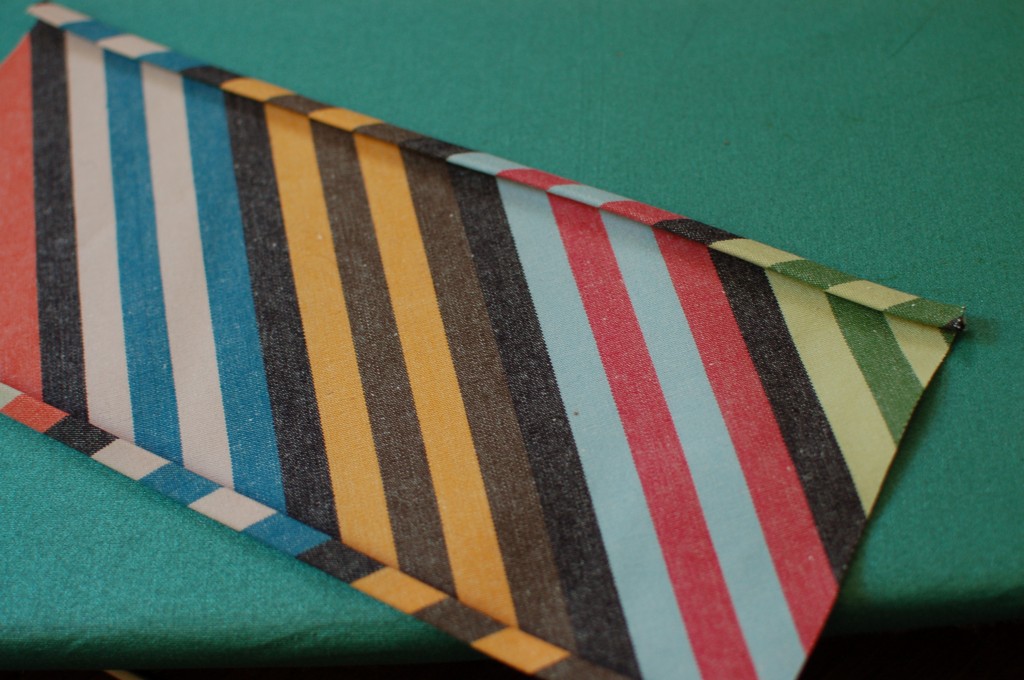
3. Repeat step 2 with the short edges, and then pin them in place.
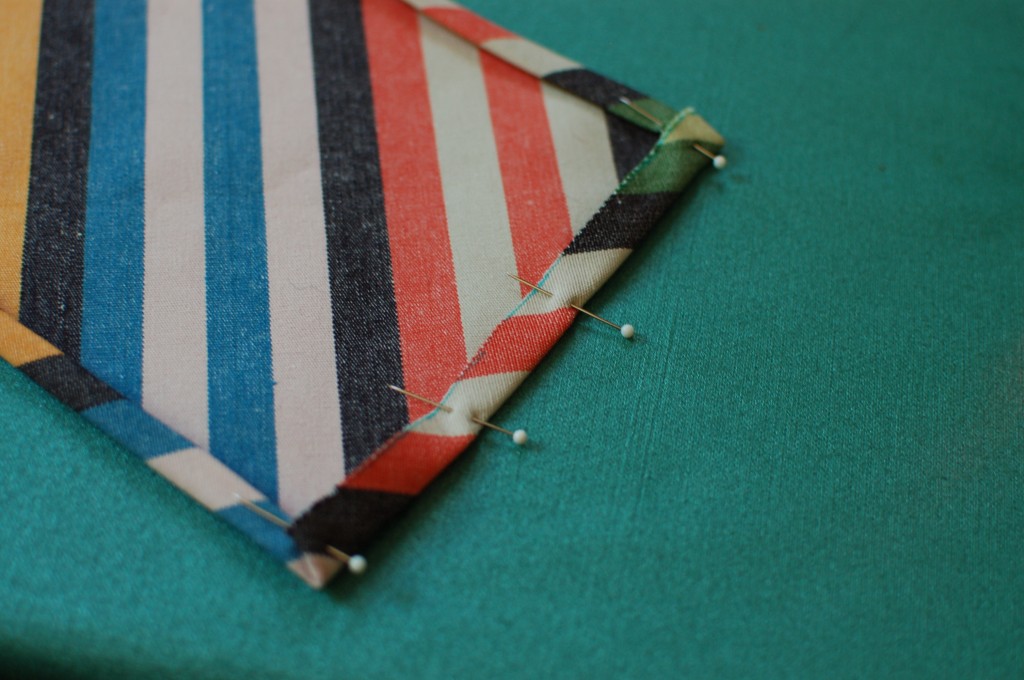
4. With the fabric right side up, sew down the short edges, 1/8″ from the edge.
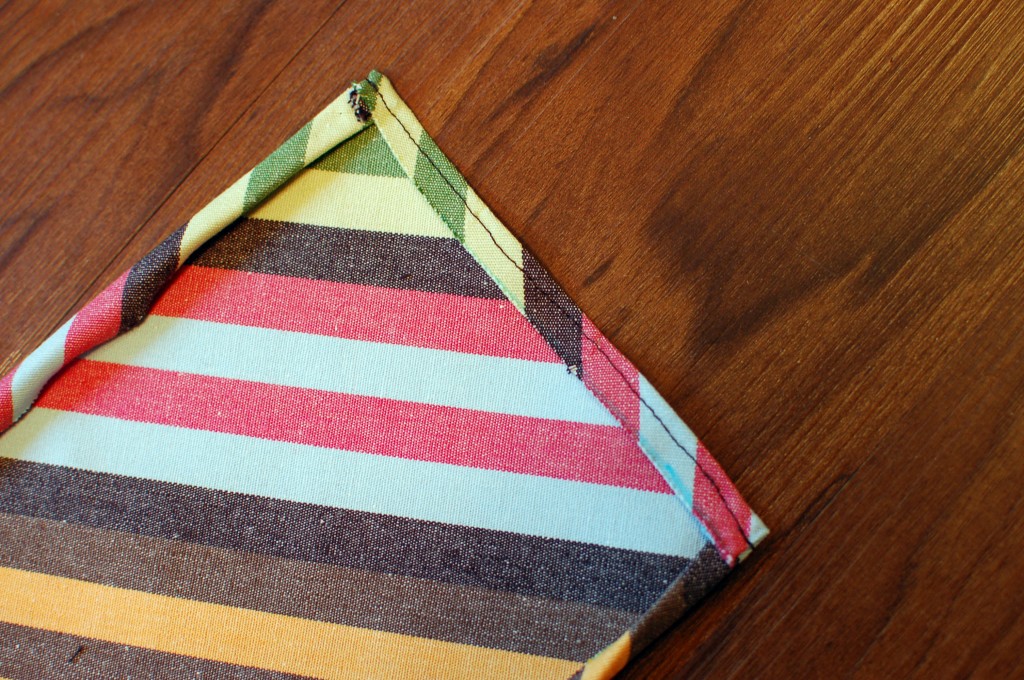
Wow, there’s a nice straight line. Ha!
5. With fabric wrong side up, fold the short sides in 2″ to create the pockets. Iron, and pin if necessary.
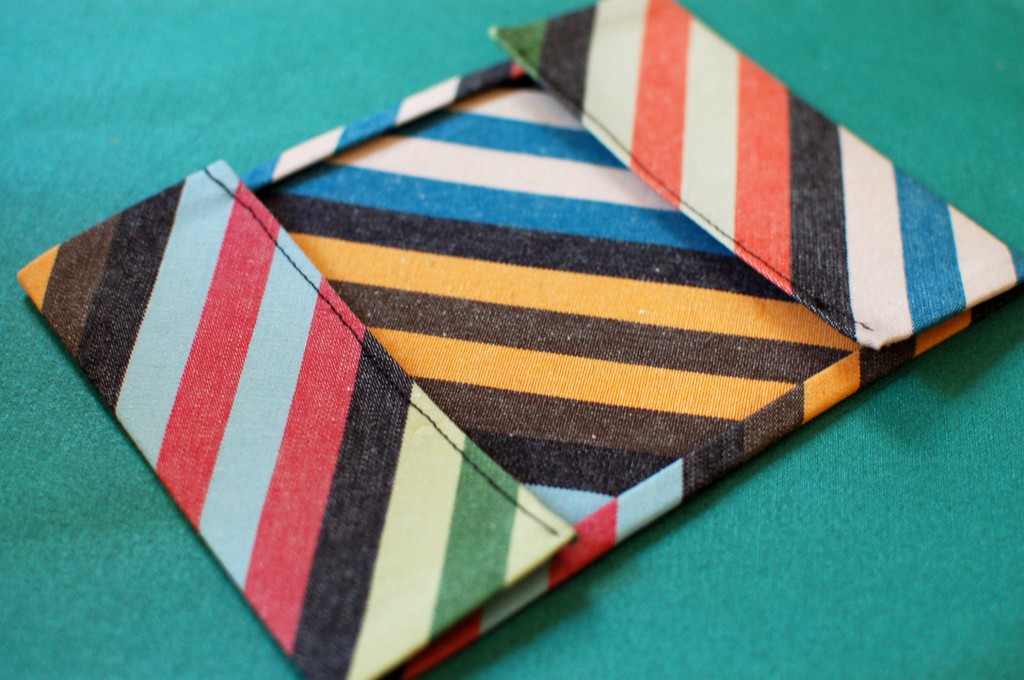
6. Top stitch the long edges, 1/8″ from the edge.
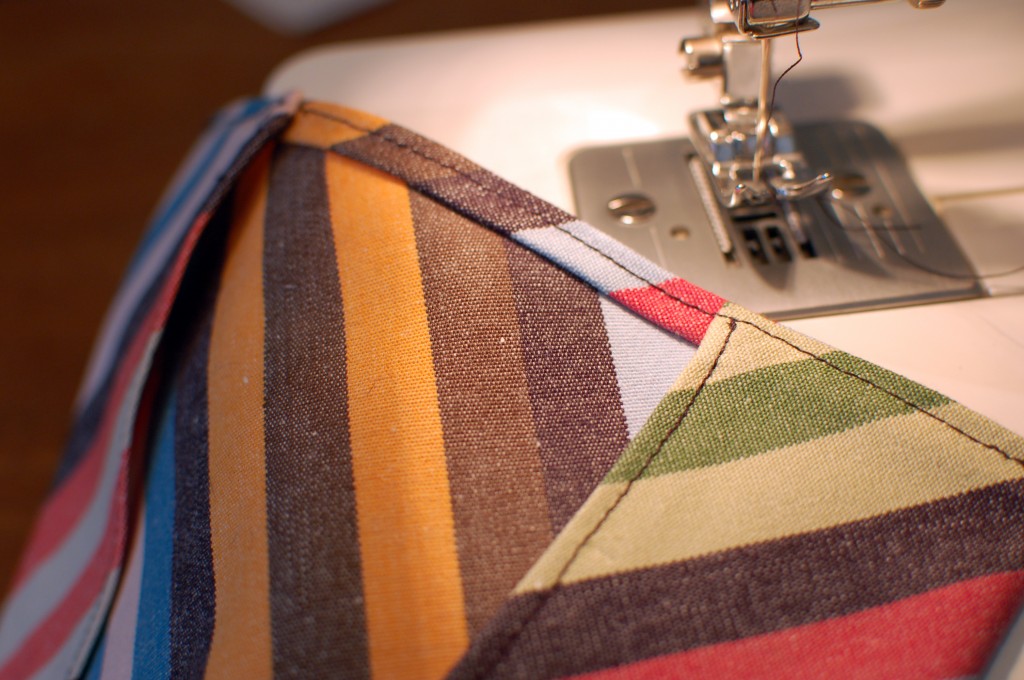
The photo shows the bottom, not the top, but gives a better idea of what the finished seams look like.
Ta da! I love the zig-zag look that the pockets create.
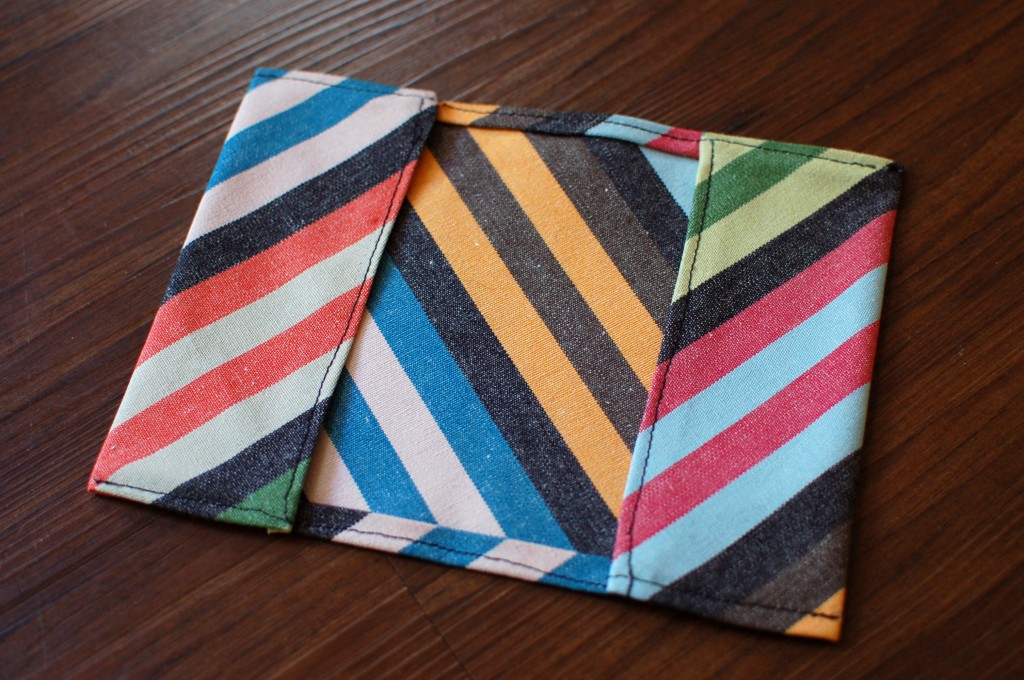
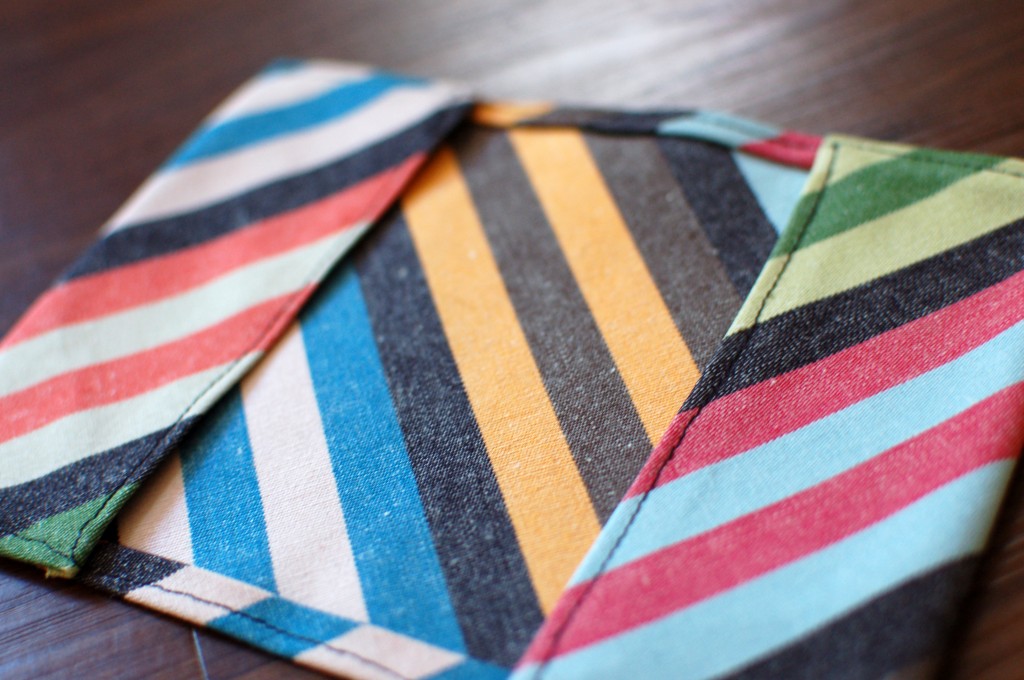
7. Insert your passport and travel the world! (Be careful to bend the fabric backwards, not the passport, when inserting.)
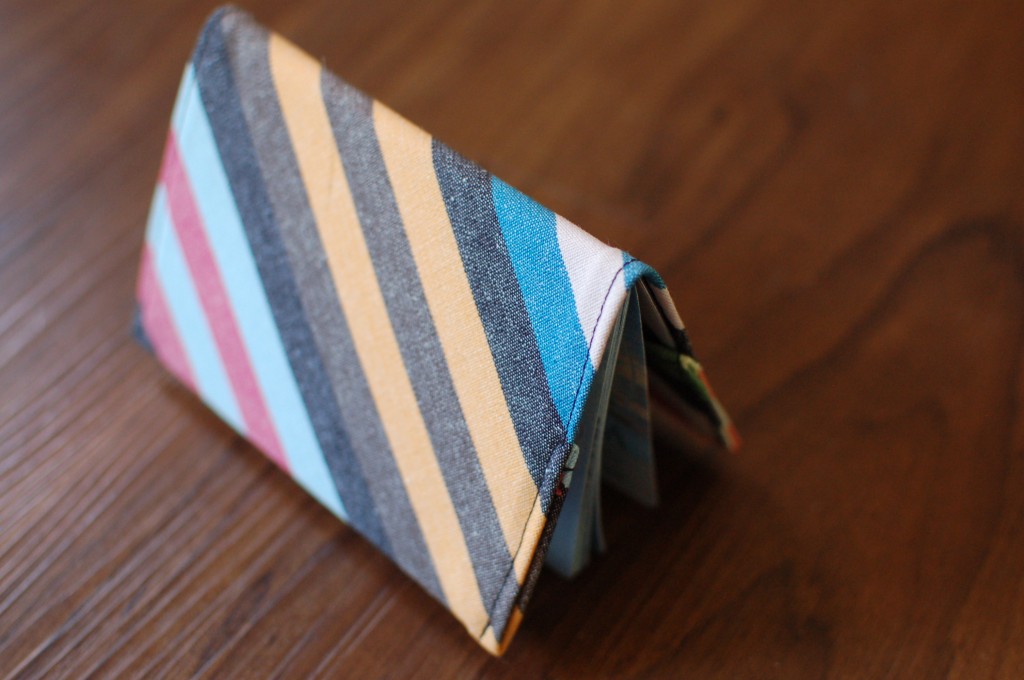
FUN! Have a great trip!
It’s me again! I just realized that this would make an EXCELLENT gift for the gals who are going on a Pilgrimage next year. Fun!
Yay, Christine, that will be perfect!
Pingback: 15 Tutorials for the Summer Holidays