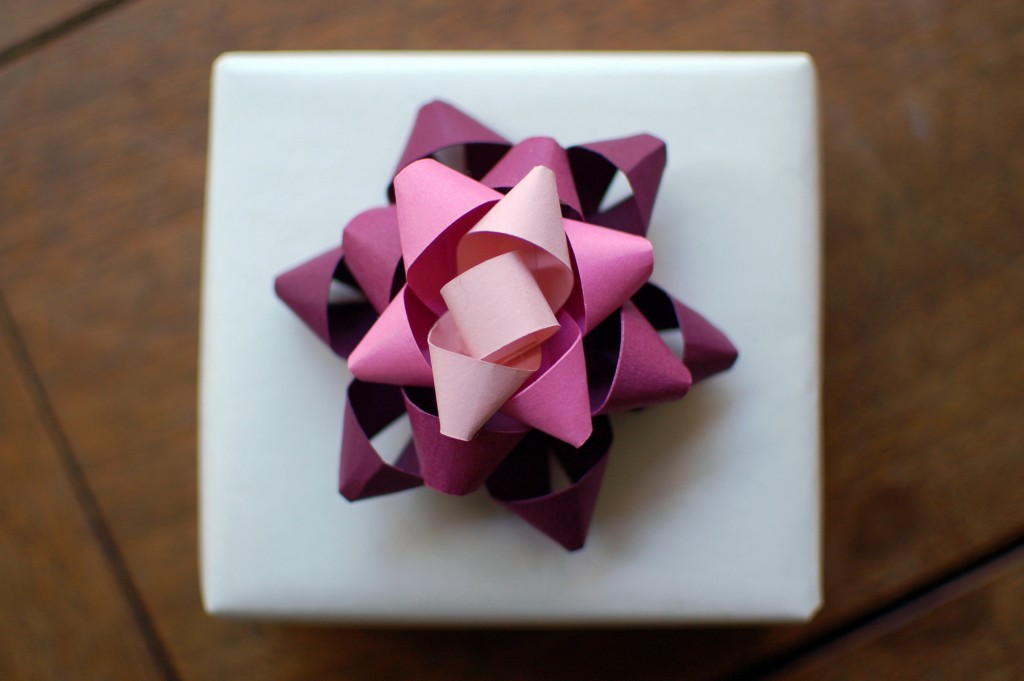
I’ll be the first to admit that I’ve been slow to embrace the ombre trend that’s now so hugely popular. I think it’s because I spend a lot of my day job arguing that clients don’t actually need to add gradients to every. single. little. thing. And let’s be honest here — ombre is just a fancy French word for gradient.
But some “ombre” things have grown on me. It was love at first sight with ombre cakes, and I’ve literally had a strawberry cake mix on my shelf for two years in anticipation of an event at which I could serve one (nevermind that I’d still need to use food coloring and cake from scratch would taste better, anyway).
I’m also drawn to the dip-dying end of the ombre spectrum, at least partially because as a kid I always thought it would be so easy to paint or dye anything, if only I had a giant vat and basket like the deep fryers at McDonald’s.
So how ’bout this bow? Somewhere in my brain (and not on Pinterest, surprisingly) with the ombre cake, I stashed DIY present bows. I’ve been meaning to make them for a long time, out of everything! I love the map version on How About Orange. When I finally got around to making one, I couldn’t choose just one color from my paper collection, so my ombre bow was born.
Supplies
Card stock in 4 colors
Scissors
Hot glue and gun
Stapler and staples (optional)

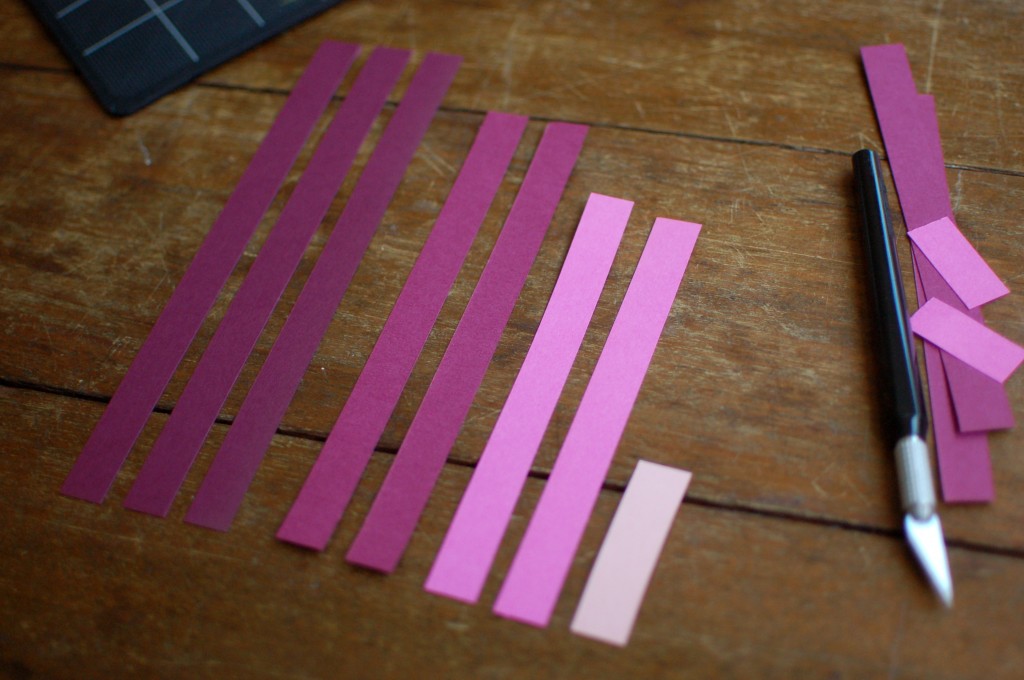
1. Cut card stock into strips:
Three 8.5″ x 0.5″ strips of the darkest shade
Two 7.5″ x 0.5″ strips of the second darkest shade
Two 6.5″ x 0.5″ strips of the second lightest shade
One 5.5″ x 0.5″ strip (not pictured) of the lightest shade
One 1.5″ x 0.5″ strip of the lightest shade
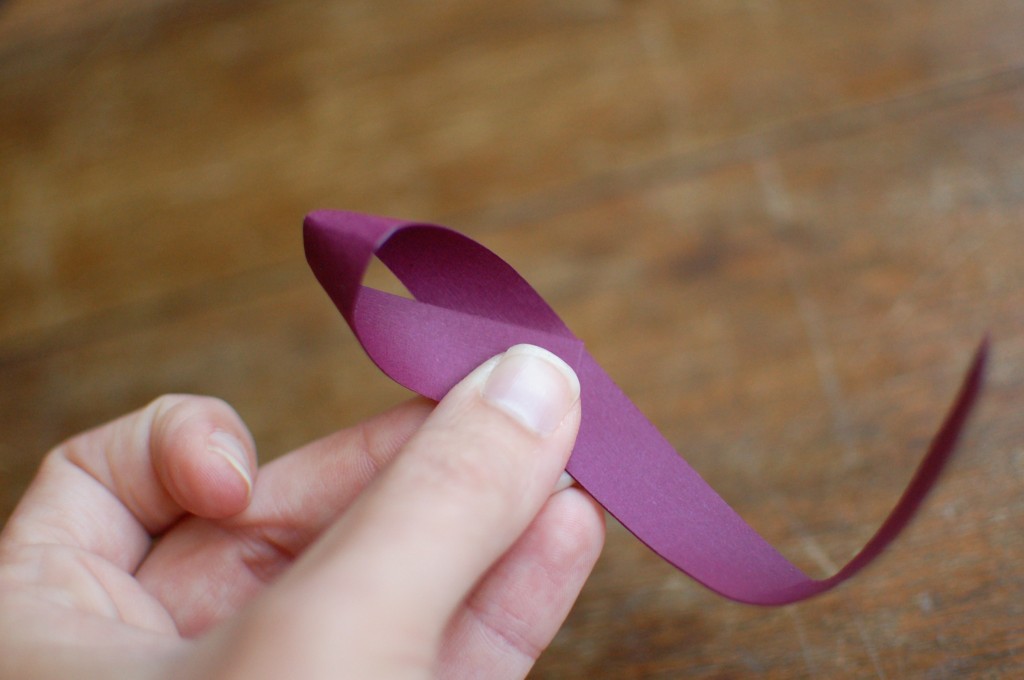
2. Starting with the largest strips, fold each strip (except the tiny 1.5″ strip) into a figure eight as follows:
3. Hold the middle of the strip with one hand.
4. Grab the top of the strip with your other hand and fold it down to the middle, turning it over so that the top half twists into the shape of a breast cancer ribbon.
5. Spin the strip 180 degrees and repeat with the other half so that the strip is now shaped like a figure eight.
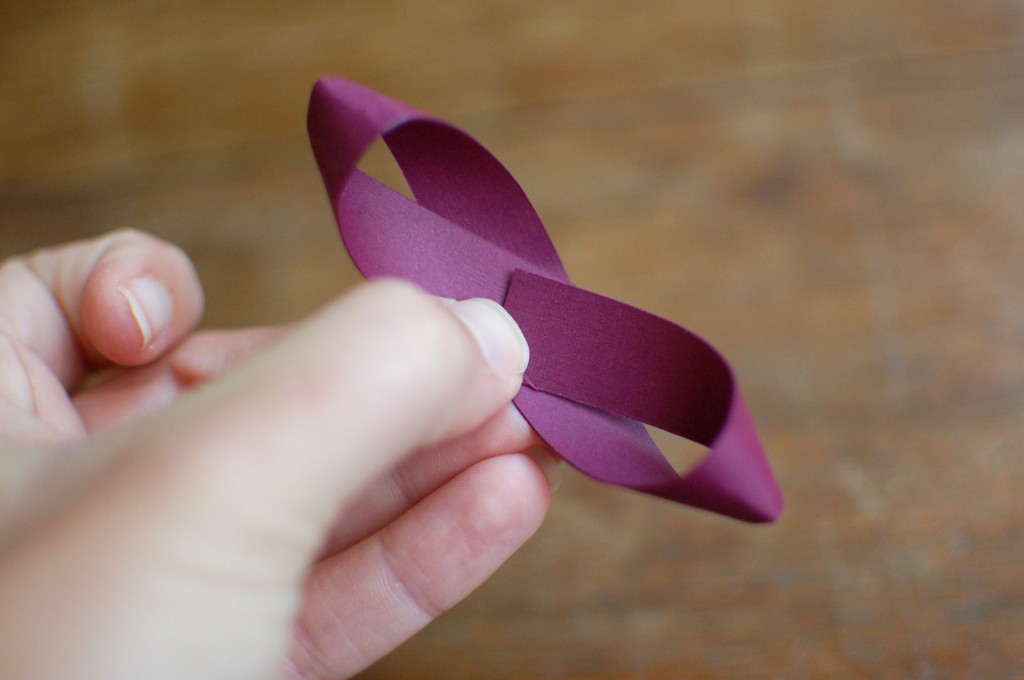
6. Overlap the folds in the middle and staple them together, keeping the loops tight and the holes small. (You can use whatever method you like to hold the loops together — I chose staples because they are fast, strong and won’t be visible on the completed bow. You could hot glue or tape these loops, as well.)
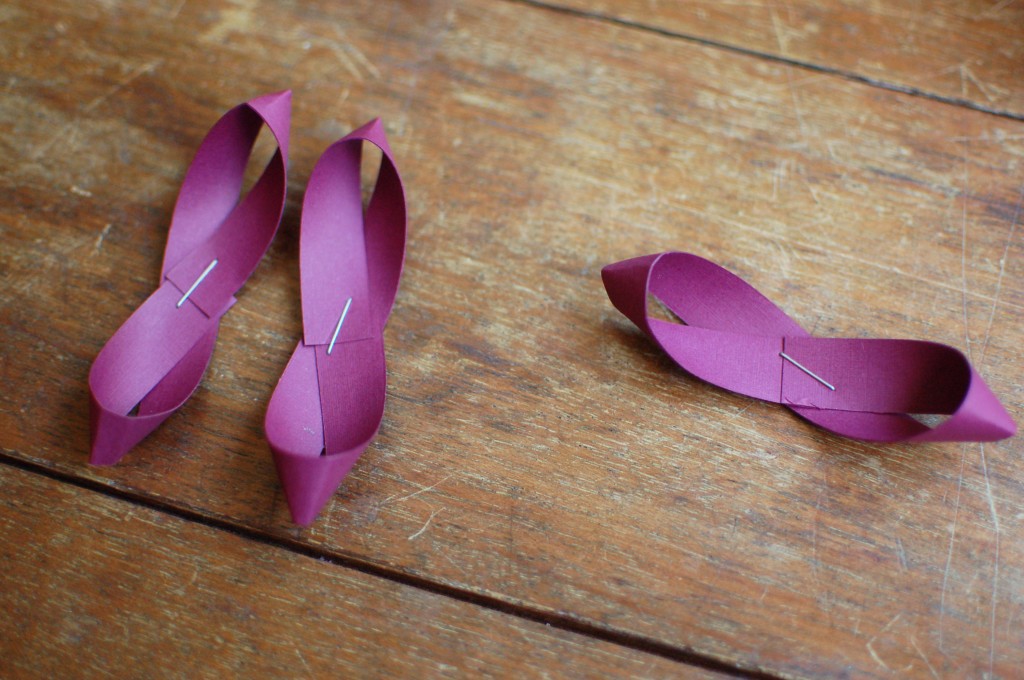
7. Next, assemble strips of the same size together into a layer using hot glue.
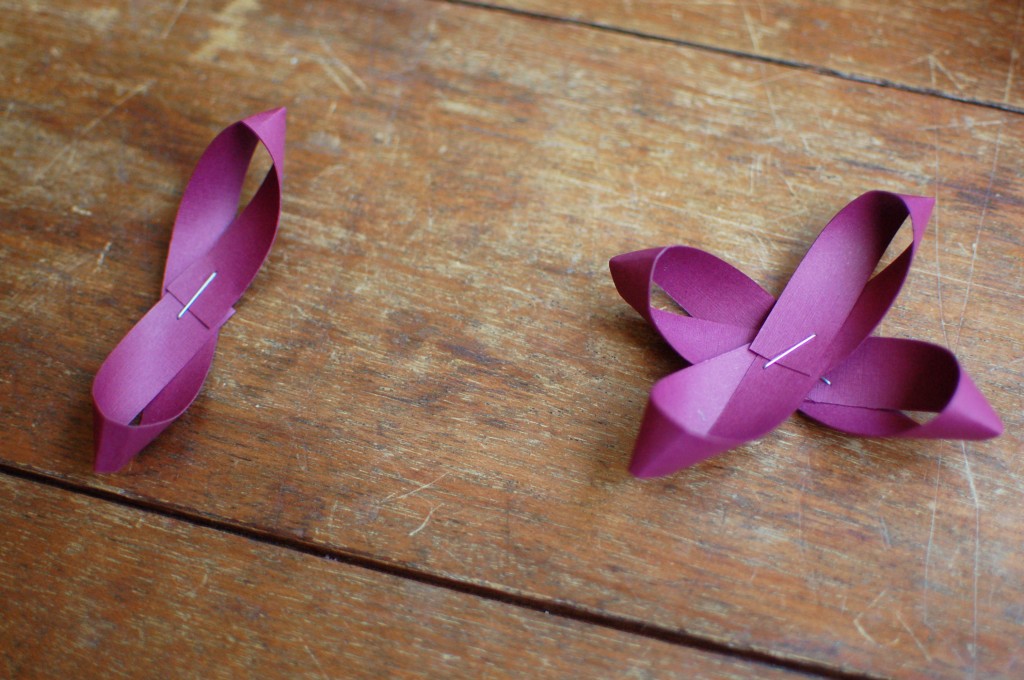
8. Affix layers together using hot glue.
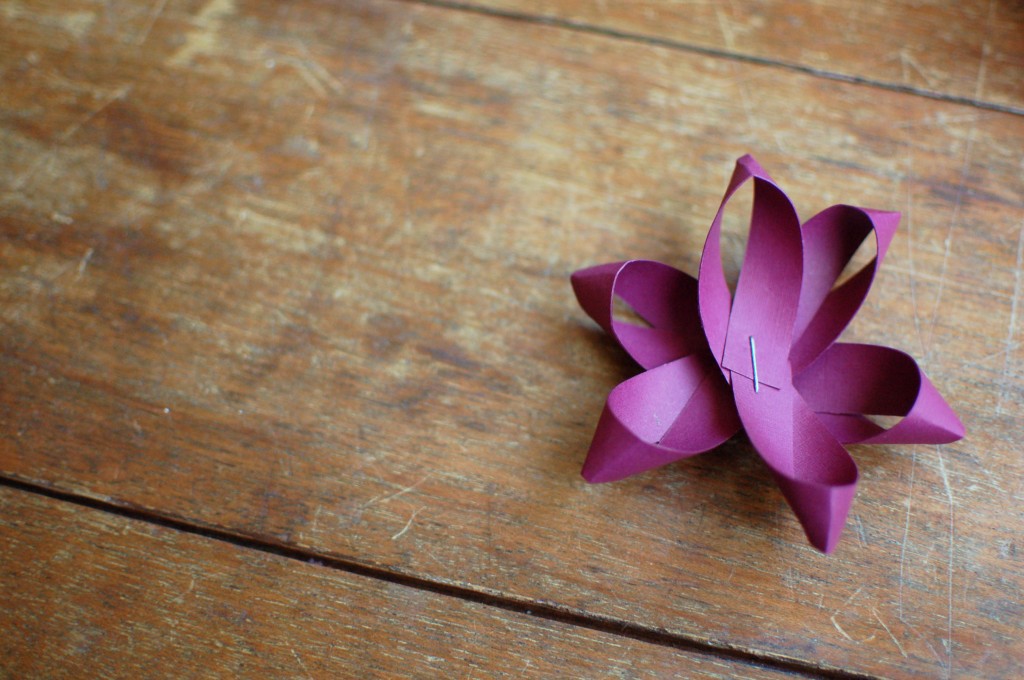
9. For the final (1.5″) strip, hot glue it into a circle. Then attach it to the center of the topmost layer with hot glue.
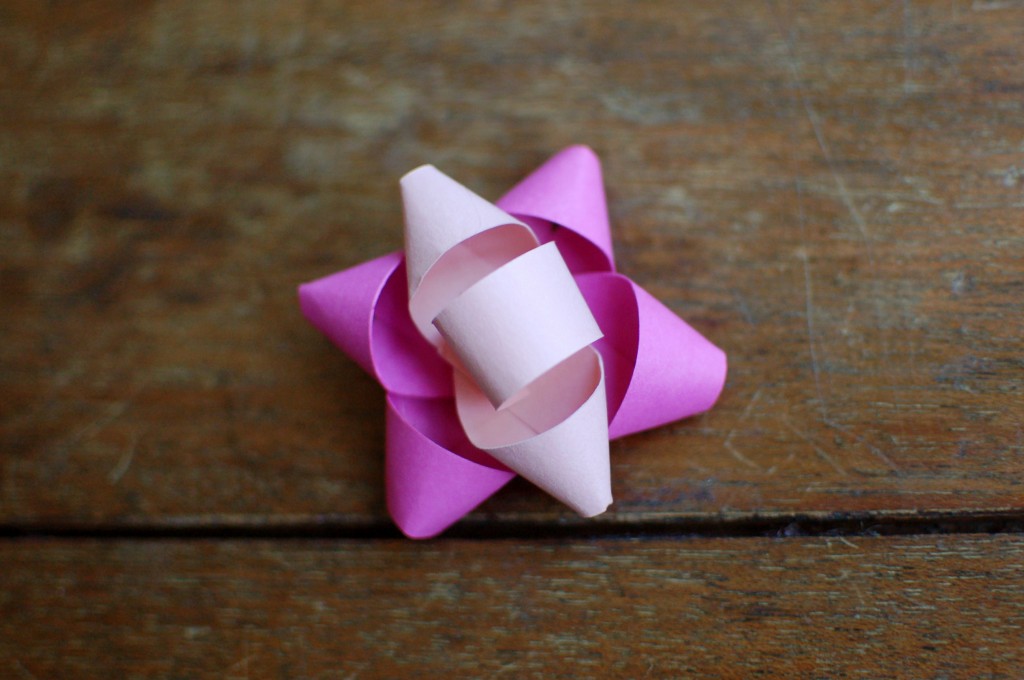
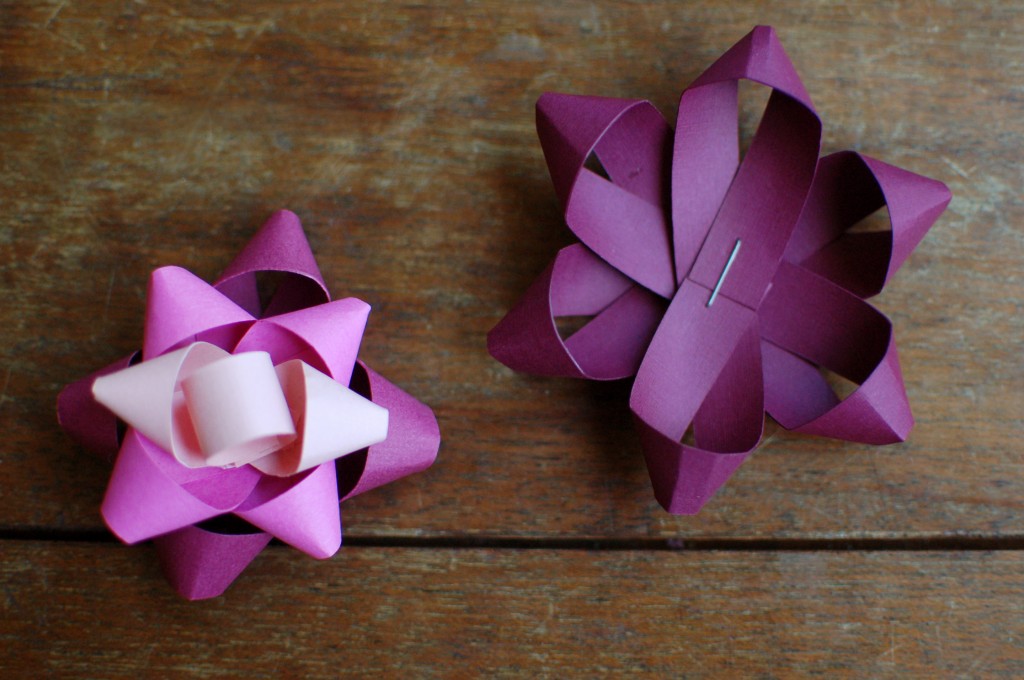
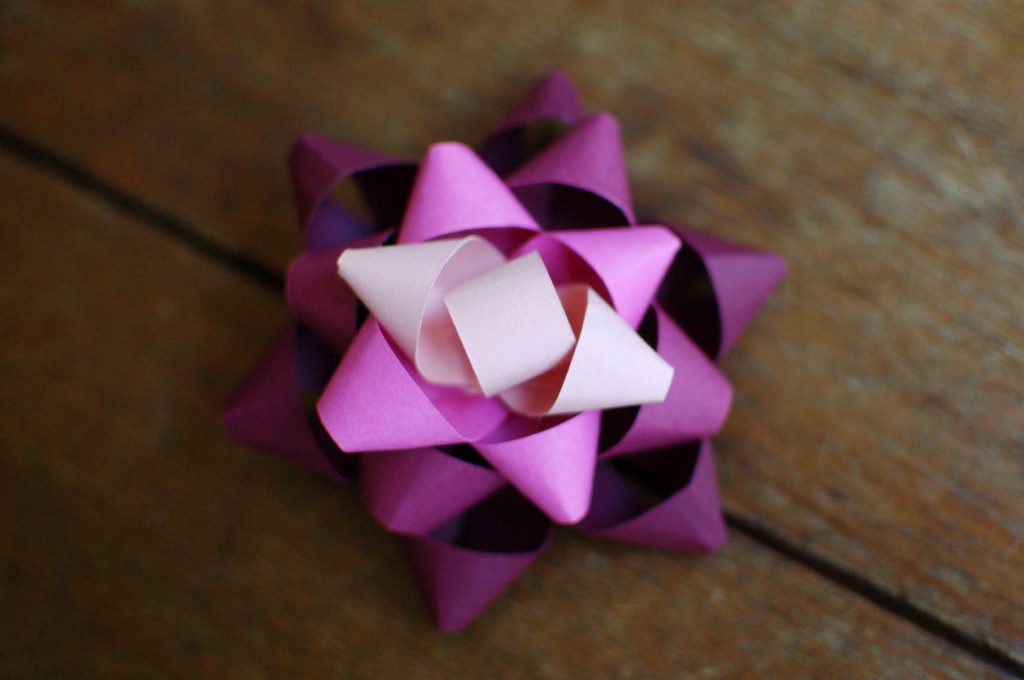
Now, who will be the lucky friend or family member to receive my first paper bow?
Can it be me?? I think it’s so cute! I want to start making them!