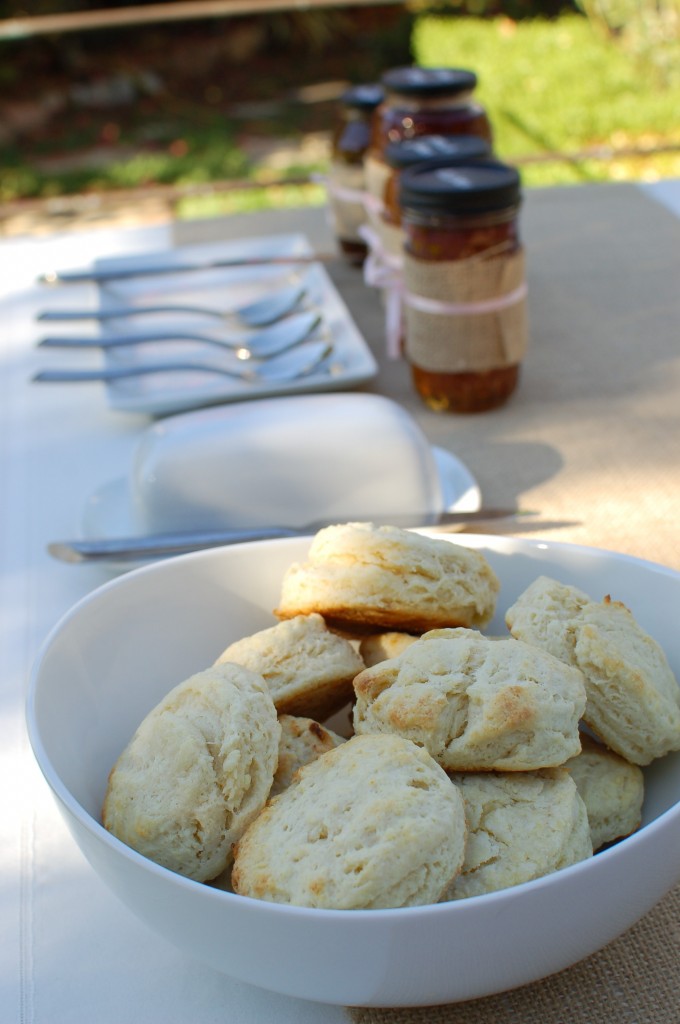
From the beginning of planning this party, I knew I wanted the biscuits to be a big deal. It’s a southern party, right?! We needed lots of toppings and fresh biscuits all party long.

The “all party long” part posed a challenge. Biscuits are generally pretty easy to make, but baking hundreds in our hot kitchen when I could/should be outside entertaining wasn’t particularly appealing. I considered baking them in advance and reheating them, but quickly dismissed that idea — it’s easy to taste the difference between a fresh biscuit and an old one that’s been sitting on a hot plate.
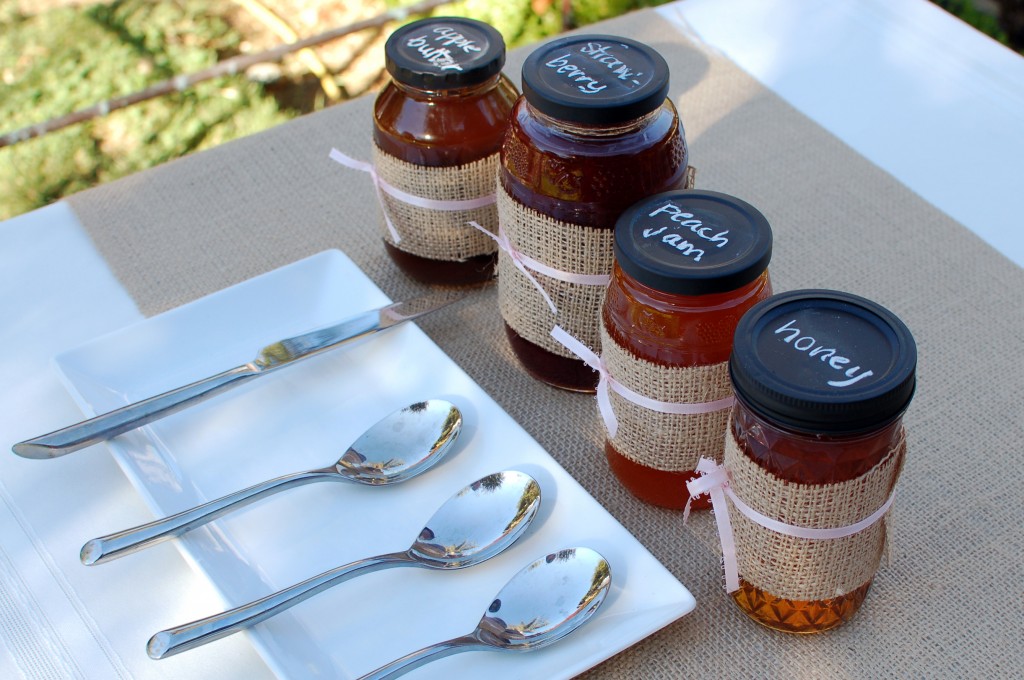
Could I freeze the cut dough and just pop them in the oven during the party? Most online sources said no, but I tried it (in advance) anyway. The previously-frozen biscuits came out fluffy and moist, batch after batch! I’d like to personally dispel the myth circulating all over the internet that you can’t freeze biscuit dough. (Something about the baking soda reaction happening when mixed and frozen biscuits not rising. Not true.) We loved them and their 13 minutes freezer to table time, so much so that we’re determined to keep our freezer stocked! Covered in honey, jam and apple butter, they were a huge hit at the party as well. For more details on freezing biscuits, see my note under the biscuit recipe.

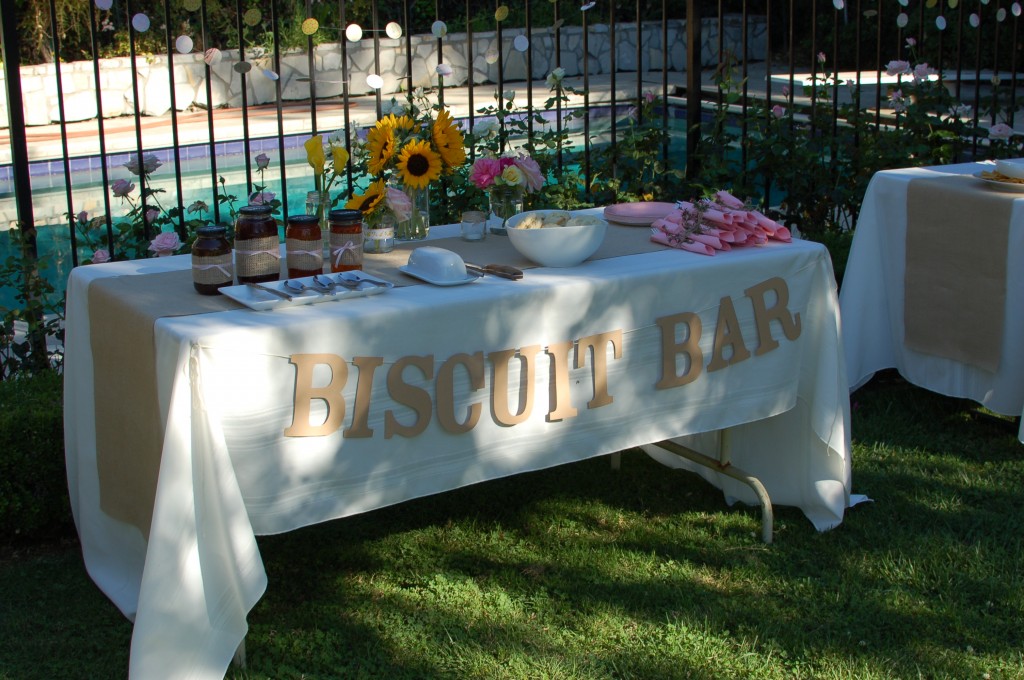
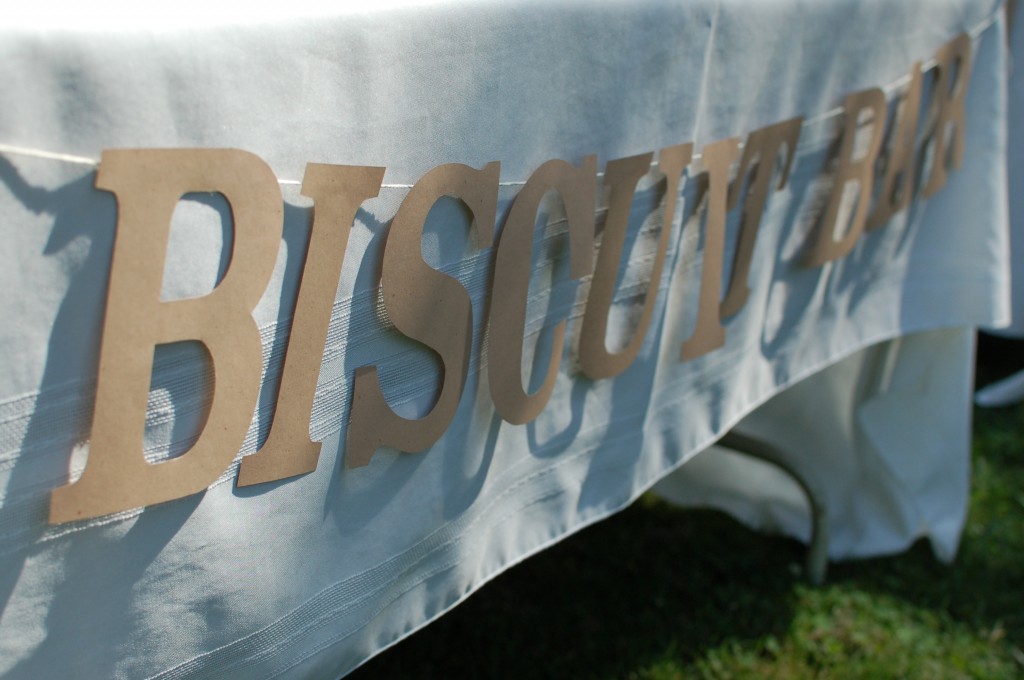
We decided to give the biscuits their rightful place of honor at a “biscuit bar,” which we designated with a hand-cut banner. To make the banner, I flipped the letters (so they appear backwards) in Adobe InDesign and printed them on the back of colored paper. I just followed the lines to cut them out, easy peasy. If you’d like to make your own banner, I’ve made two files available for download. You can print them directly onto your party paper (like I did) or trace them on chipboard to make longer-lasting templates.
Download Biscuit Bar Letters
Download All Letters, A-Z
… just in case you want to serve something besides biscuits at your next soirée! They’re also perfect for writing names for birthdays or showers. The possibilities are endless!

Biscuits Supreme
Adapted from Better Homes and Gardens
Prep: 20 min
Bake: 10 min
Makes: 10 biscuits
3 cups all-purpose flour
4 teaspoons baking powder
1 tablespoon sugar
1 teaspoon salt
3/4 teaspoon cream of tartar
3/4 cup butter, cold
1 1/4 cups buttermilk
1. Preheat oven to 450.
2. In a large bowl, stir together the dry ingredients. Cut in butter until mixture resembles coarse crumbs. (I like to use a grater on the butter and then stir.) Make a deep well in the center of the flour mixture. Add buttermilk all at once. Using a fork, stir just until moistened.
3. Turn dough out onto a lightly floured surface. Knead dough by folding and gently pressing dough for 4 to 6 strokes or just until dough holds together. Pat or lightly roll dough until 3/4 inch thick. Cut the dough with a floured 2 1/2 inch biscuit cutter. Cut out as many biscuits as possible from a single rolling of the dough because a second rolling (and more flour and handling) will result in biscuits that are a bit tougher than the first batch.
4. Place biscuits 1 inch apart on an ungreased baking sheet. Bake for 10 to 12 minutes or until golden. Remove biscuits from baking sheet and serve immediately.
To freeze:
After step 3, place biscuits (close but not touching) on a baking sheet lined with wax paper. Put the tray in the freezer for a few hours, just until the biscuits are solid. Take the frozen biscuits off the baking sheet and store them packed in a large ziplock. This keeps the biscuits from clumping together and allows you to defrost them individually. When ready to bake, simply proceed with step 4, adding 3 minutes to the baking time.
I’m totally going to do the frozen biscuit thing.